

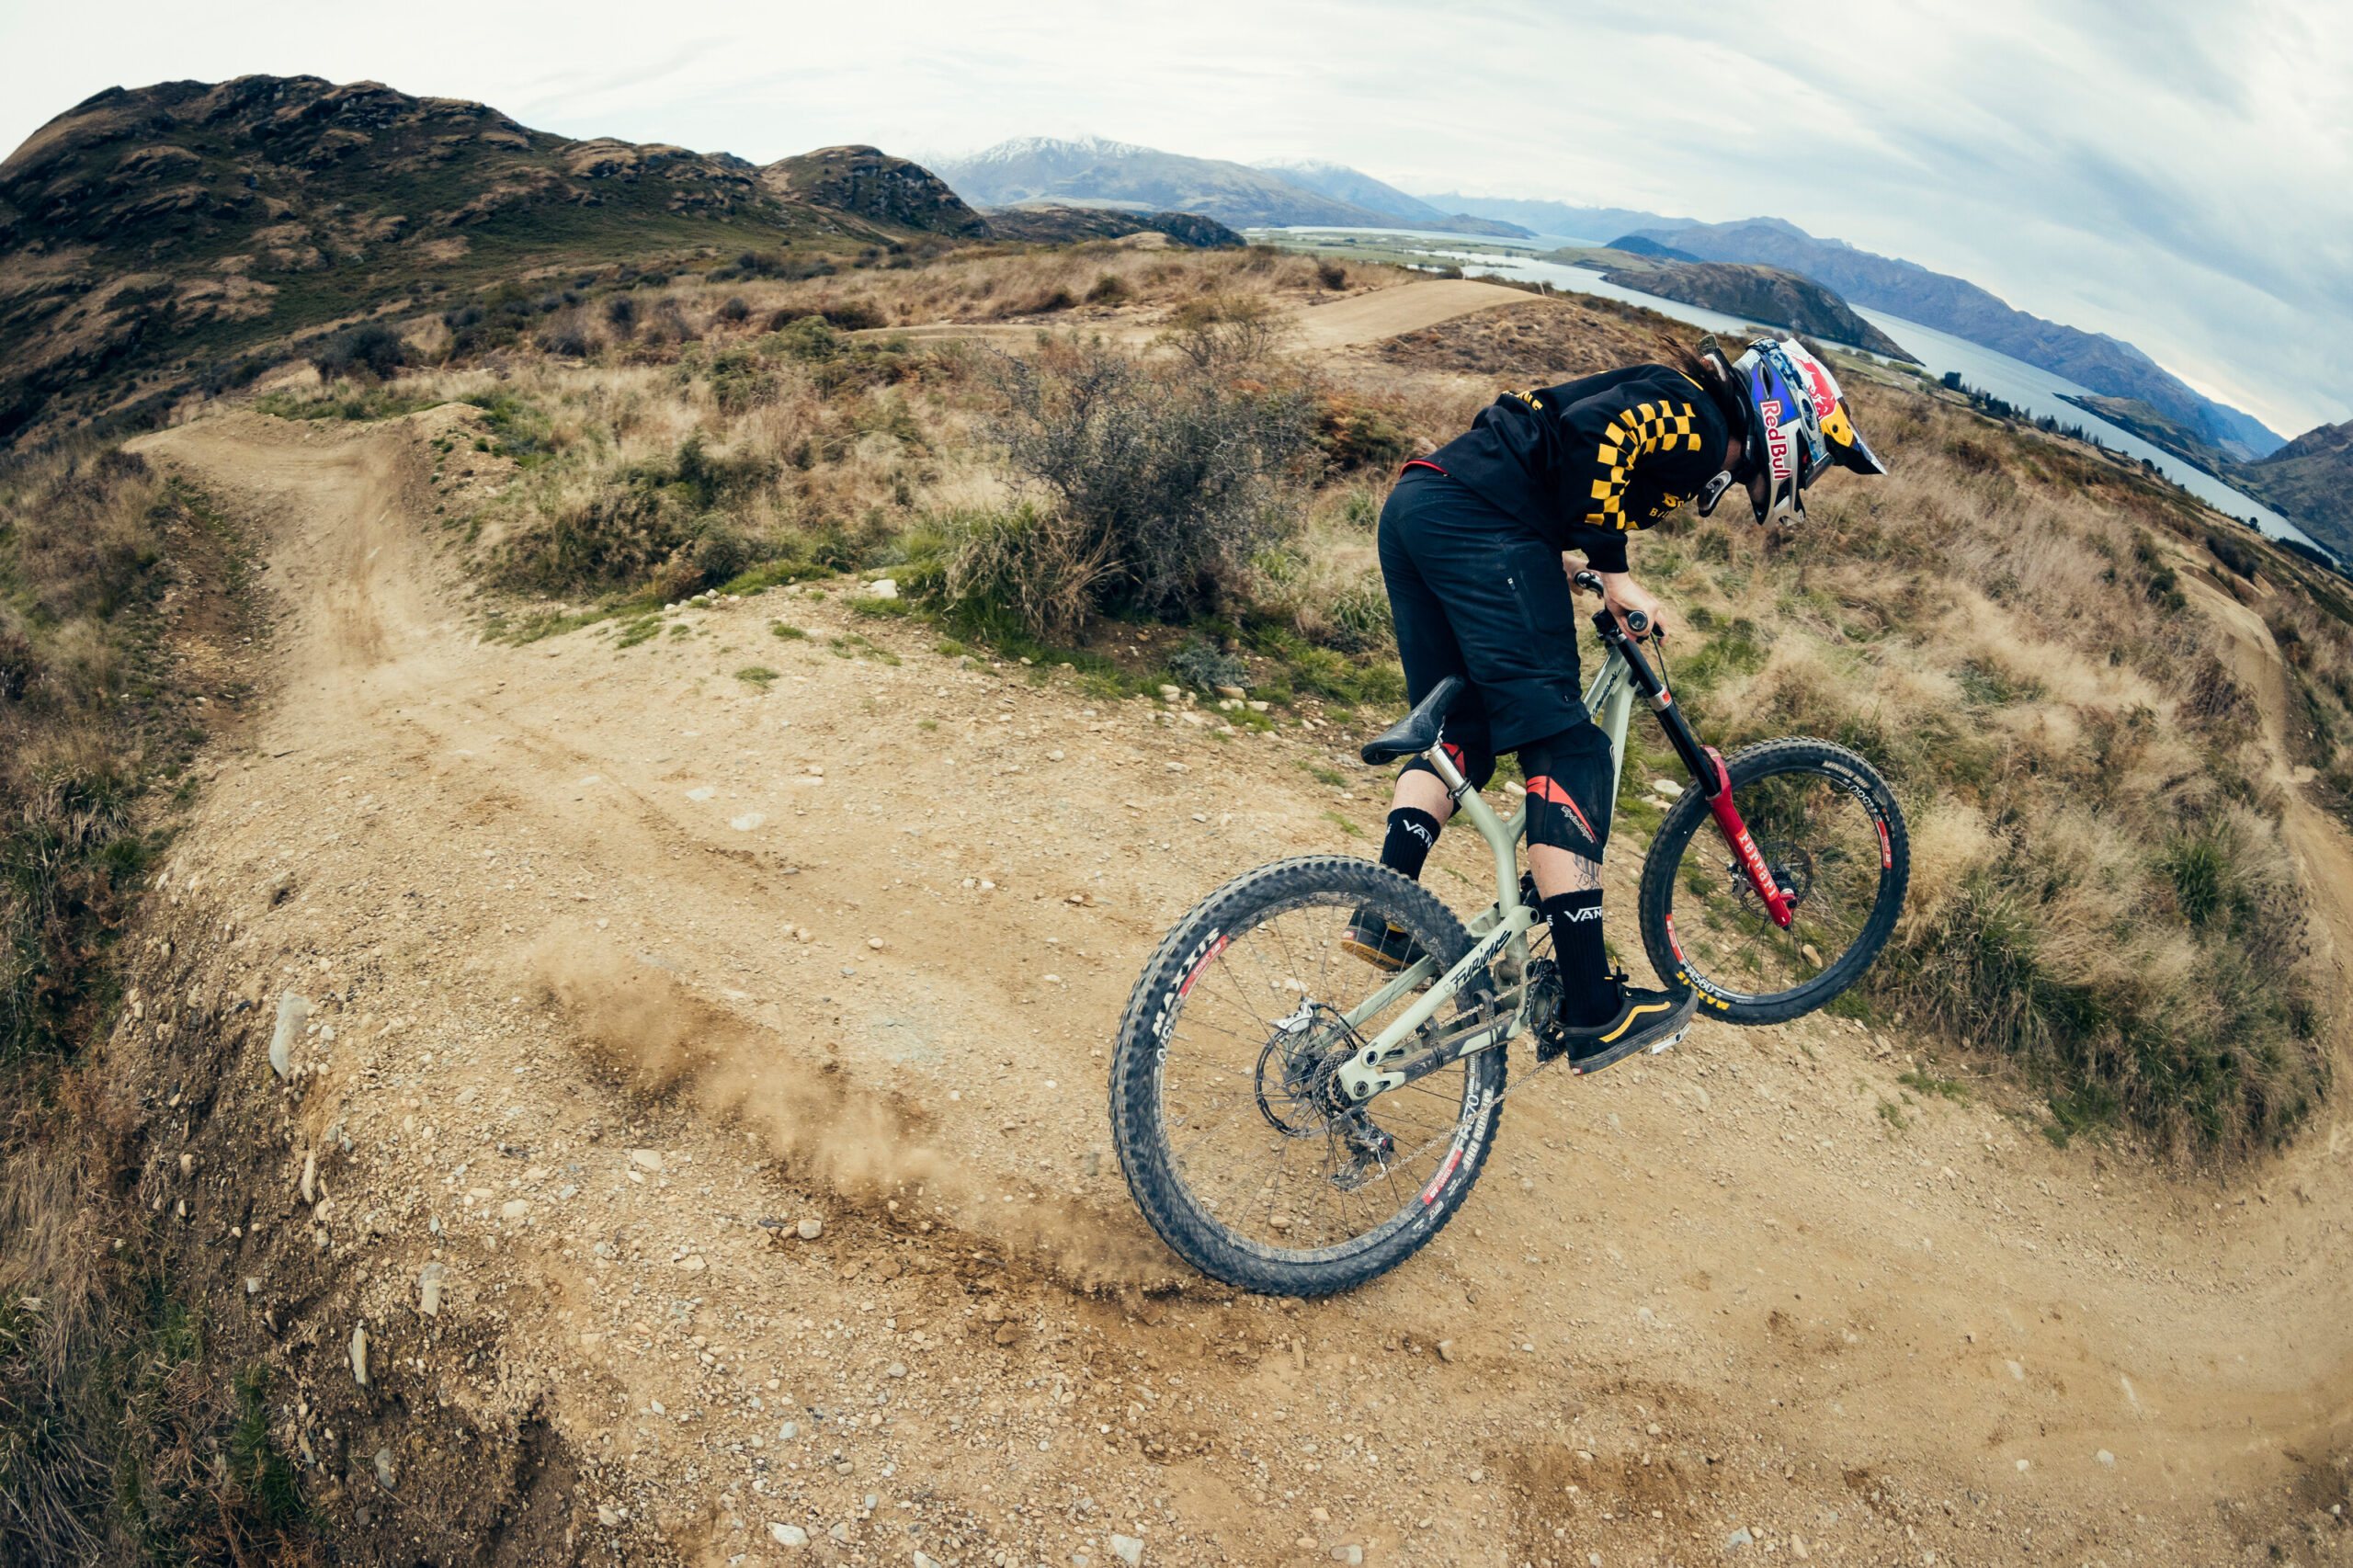
A group test with no definitive conclusion
Ask any rider and they’ll almost certainly tell you of all of the different parts that make up a bike one of the most important things is a set of brakes that perform really well and most important ‘feel’ just right. And that last part, the ‘feel’ is the area that is highly divisive amongst riders. Some people like thin grips, others swear by thicker grips. Some people like their porridge sweet, others salty. You might take milk and sugar in your coffee but for me straight up black is the only way to drink it. You see, we all have our own quirks and preferences. And when it comes to how we like our brakes to be set-up and perform, it’s a very, very personal thing…
In this group test we’ll be focusing the review around 3 key areas with each set of brakes; the install, their performance, and finally their ‘feel’. While all the brakes on the test are at the top when it comes to performance, the feel can really determine how accessible the performance is. Too touchy (on/off) and you become tentative, too much modulation and you never truly access the full power. That is why in this test we will try to describe the pros and cons of each set of brakes, in our opinion, so that you the reader can then decide for yourself which set sounds like your cup of tea. Sound good? Okay let’s get into it…
 SRAM Code RSC
Codes have been at the forefront of SRAM’s brake line (formerly AVID) for over a decade. Known for their innovative technology, modulation and fistfuls of power, there is no doubt why they are on a lot of big-hitting bikes. The current CODE crop shows their predecessors up in a big way, which is why they are one of my favourites.
There are two variations of levers available in the line-up, the R and RSC, while they both use the same oversized calliper (15/16mm pistons). The R is the entry-level lever and directly links to the piston, where the piston is mounted directly to the lever. The lever also pivots on a bushing and is very basic in function. It only has one tool-free adjustment in the form of reach adjustment. You can adjust the bite point via advancing pistons and bleed techniques; however, it is very hit and miss.
The RSC is a considerable jump when it comes to technology and features. The first thing you will notice is that the lever not only pivots on a bearing but also does not directly connect to the piston. A bearing not only provides a smooth feel while pulling the lever in, but it also creates a stiffer attachment to the lever body and eliminates any unwanted play. The lever operates a cam that pushes the piston through its travel. This cam aims to eliminate any dead band (when the lever moves without operating the calliper) while maintaining modulation. The cam provides a smooth power curve to the piston by changing the leverage ratio. SRAM deems this way the best way to do it without having an “ON/OFF” feel to the brake. The RSC also has a tool-less reach adjust and pad contact point dial, but more on that later.
Fitting these brakes to the bike is easy and efficient. Cutting the hose to length is simple and installing the barb/olive is a breeze. I love anything that warrants me to get out the hammer and vice grips, but there is no need for that here. SRAMS barb is threaded and can be screwed into the hose using a T10 Torx key. The olive then threads onto the head of the barb (left-hand thread). Put some dot grease on the olive, insert into the lever, do up the nut and you are ready to bleed.
By far, SRAM has the most mess-free system when it comes to bleeding, thanks to the Bleeding edge system. The bleeding edge attachment is a “key” that effectively plugs into the calliper, once you hear a click you open the bleed port by turning the key one-quarter turn. The bleeding is done by pushing fluid through the key when you are done, you close the port and pull the key out with no mess. Remember that pad contact adjust? Well, that is the number one culprit for poor bleeds. You must make sure that the contact adjust dial is wound out fully in the opposite direction of the arrow on the lever to ensure maximum fluid flow and effective bleeding.
Bedding in the brakes is super easy and requires minimal effort. 10 stops each end at walking pace, running pace, and a sprint speed. Each time engage the brake smoothly, don’t lock up the wheel and never come to a full stop, this ensures effective material transfer. I have always found that SRAM pad material prefers a whole night to cure onto the disc so, I like to bed them in the day before the first ride.
When it comes to riding these brakes, they are extremely impressive right from the very first ride. On technical pieces of trail, when you need precise control over stopping power, the modulation is phenomenal. Often when a brake has supreme modulation, and it is hard to reach full strength. Thanks to the swing link power delivery from finger to disc is direct for those “OH S@#T!!” moments. If you need to lock up the rear tyre, it is easily done, and the fronts will throw you OTB in a heartbeat if you want.
Brake fade is non-existent thanks to the centreline rotors and steel pad backing dissipating heat effectively. I have genuinely no complaints when it comes to these brakes on the trail.
Maintenance wise the CODES require very little upkeep. Bleeding is easy. However, they use DOT 5.1 fluid which is harmful to paint, skin and the environment. Over time brake dust, dirt and other contaminants can travel past the pistons and through the seals. Every time I replace pads in these brakes I make sure I advance the pistons, clean with some brake cleaner and lube the piston with dot fluid. If not, it can lead to a lazy piston. The lever end is the same, and many people remember the guide seizing issue from the past and are never hesitant to yell warranty. To be honest, the main piston in the lever does a lot of work and is often forgotten when it comes to maintenance. Every second bleed I like to pull out the main piston, clean it and lube it with some dot great to ensure 100% performance on every ride.
To wrap it up, the CODES belong at the top of the ladder with the other brakes on test because they are the complete all round package ticking the box in a big way for performance, easy of set-up and of course that all mighty ‘feel’ factor. For people who prefer the ON/OFF feel in their brakes, I would send them to Shimano. However, for those of you after peak performance, ultimate control and wide availability of parts, these are for you.
Pros:
• Amazing power
• Modulation
• Awesome Aussie after sales service.
• Easy maintenance
Cons:
• Use DOT5.1
• Not the cheapest – but you do get what you pay for.
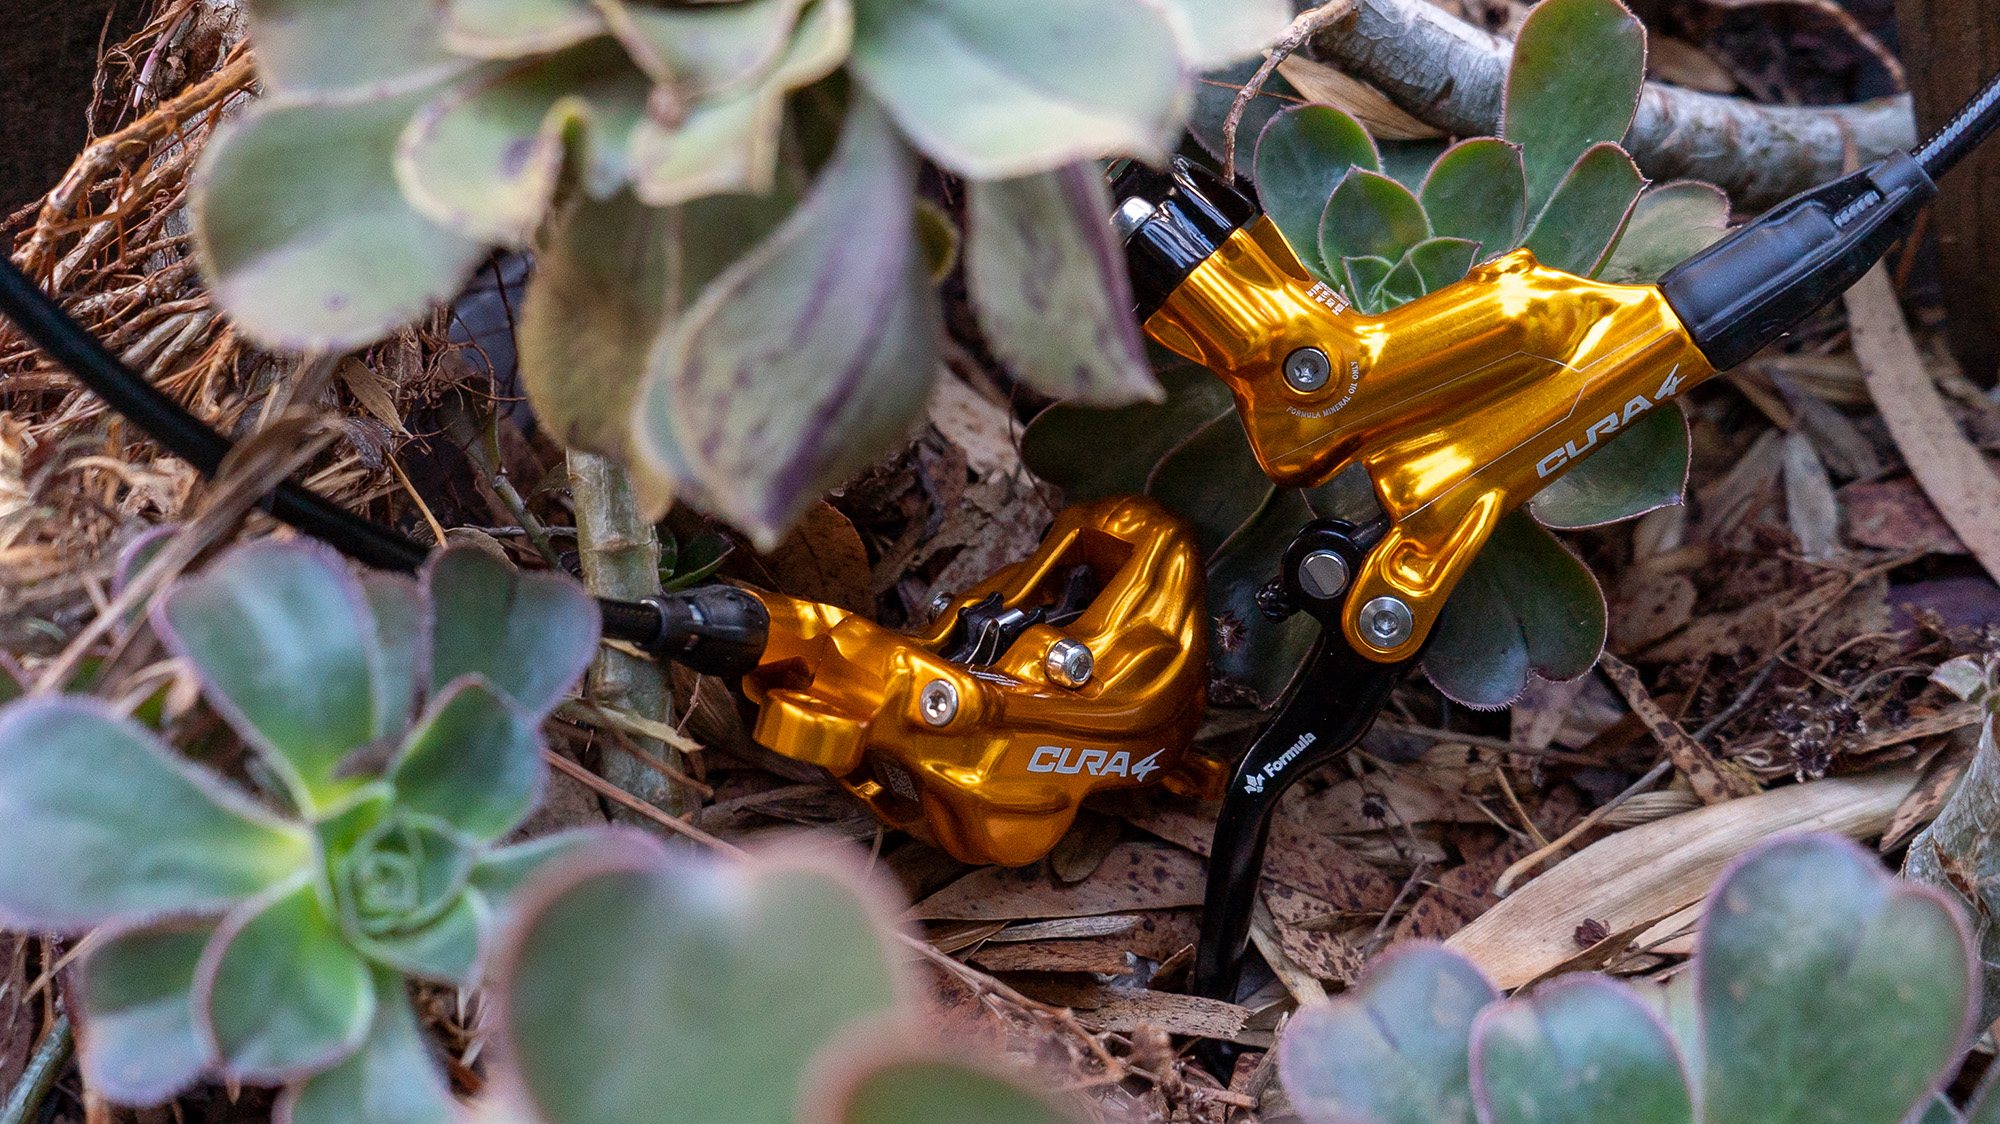 Formula Cura 4s
Oddly, Formula is still a relatively small player over here in Australia but in Europe they are a real household name (if you live in a MTB family!). You know they are serious about their craft with a background in suspension and brakes both tested under riders like Loic Bruni. The Cura’s are available in a two or a four-piston configuration. The two-piston variety is lighter and smaller. However, they definitely don’t lack in power (Loic won a world championship on these brakes). As this is a big brake test, I have spent most of my time on the four-piston brakes. The four-piston brakes use 18mm pistons often with even more power, better modulation and better heat dissipation.
It is tough to put into words how powerful these brakes are. There is so much power that I honestly don’t believe I ever used their complete power range out of fear. Even at 85%, they would pull me up from 45kph in an instant as I came into a switchback. The primary benefit to all this power? Very rare instances of arm pumps. Less squeeze equals, more comfort. Because Formula uses the same lever as the two pistons to push the increased oil through the four pistons, there is a lot more modulation. The power increase is exceptionally linear and gives you fantastic feedback to where you are in the powerband. This modulation is where the Curas shine, you can feather the brakes perfectly to slow down while maintaining traction.
If you squeeze hard, then you will lock up and scando like Moir in no time.
There was very little initial bite to these brakes, and it took a few rides to find the point where I could lock up the wheels. The Formula pad and Disc interface is massive. The size leads to better heat dissipation and control of braking friction. I experienced zero difference in brake feel at any point during testing, even after purposely dragging the rear brake to produce excessive heat. The discs are 1.85mm thick, this extra thickness stiffens the rotor laterally and reduces the risk of resonance or excess vibrations. Who thought that .5mm would be the key to a super quiet ride? The only problem with things being silent is you can hear the pads rattle, a quick fix was expanding the retainer spring and the silence was sweet. When it comes to installing the brakes, it can be a little bit messy, and there is a fair bit of faffing.
Formula uses their own blend of mineral oil to ensure they get the absolute best performance. The bleed process is finicky due to the bleed ports’ location and the amount of spots air can get trapped. To bleed effectively, you must remove the rear calliper, rotate it while bleeding, but the bleed tool wouldn’t fit while on the bike. You will get used to it though because the Curas do need more attention when it comes to maintenance. Adjustments are very limited on the levers for such a high end brake and I believe the addition of a contact point adjust would remove the necessity for regular bleeding. The only “tool free” adjustment is lever reach however, it is so stiff you MUST use a 2mm allen key to adjust it. If your 2mm allen wrench is even a little bit dull, it will round the head out fast. Thankfully though it is a set and forget adjustment so you rarely ever have to touch it. All in all, these brakes are perfect if you are looking for mountains of power with almost excessive amounts of modulation. As much as I rate these brakes up there with the best on the market, the power band’s extreme linearity wasn’t for me. I much prefer the curve of the Codes as they ramp up power towards the end. If you like the ON/OFF feel of Shimano brakes, then I also recommend the two piston curas. With the power of a Code but feel of a Shimano they are definitely a winner.
Pros:
• Powerful
• Amazing modulation
• Look damn sexy
Cons:
• Difficult to work on
• Requires excessive bleeding.
• Lack of adjustment
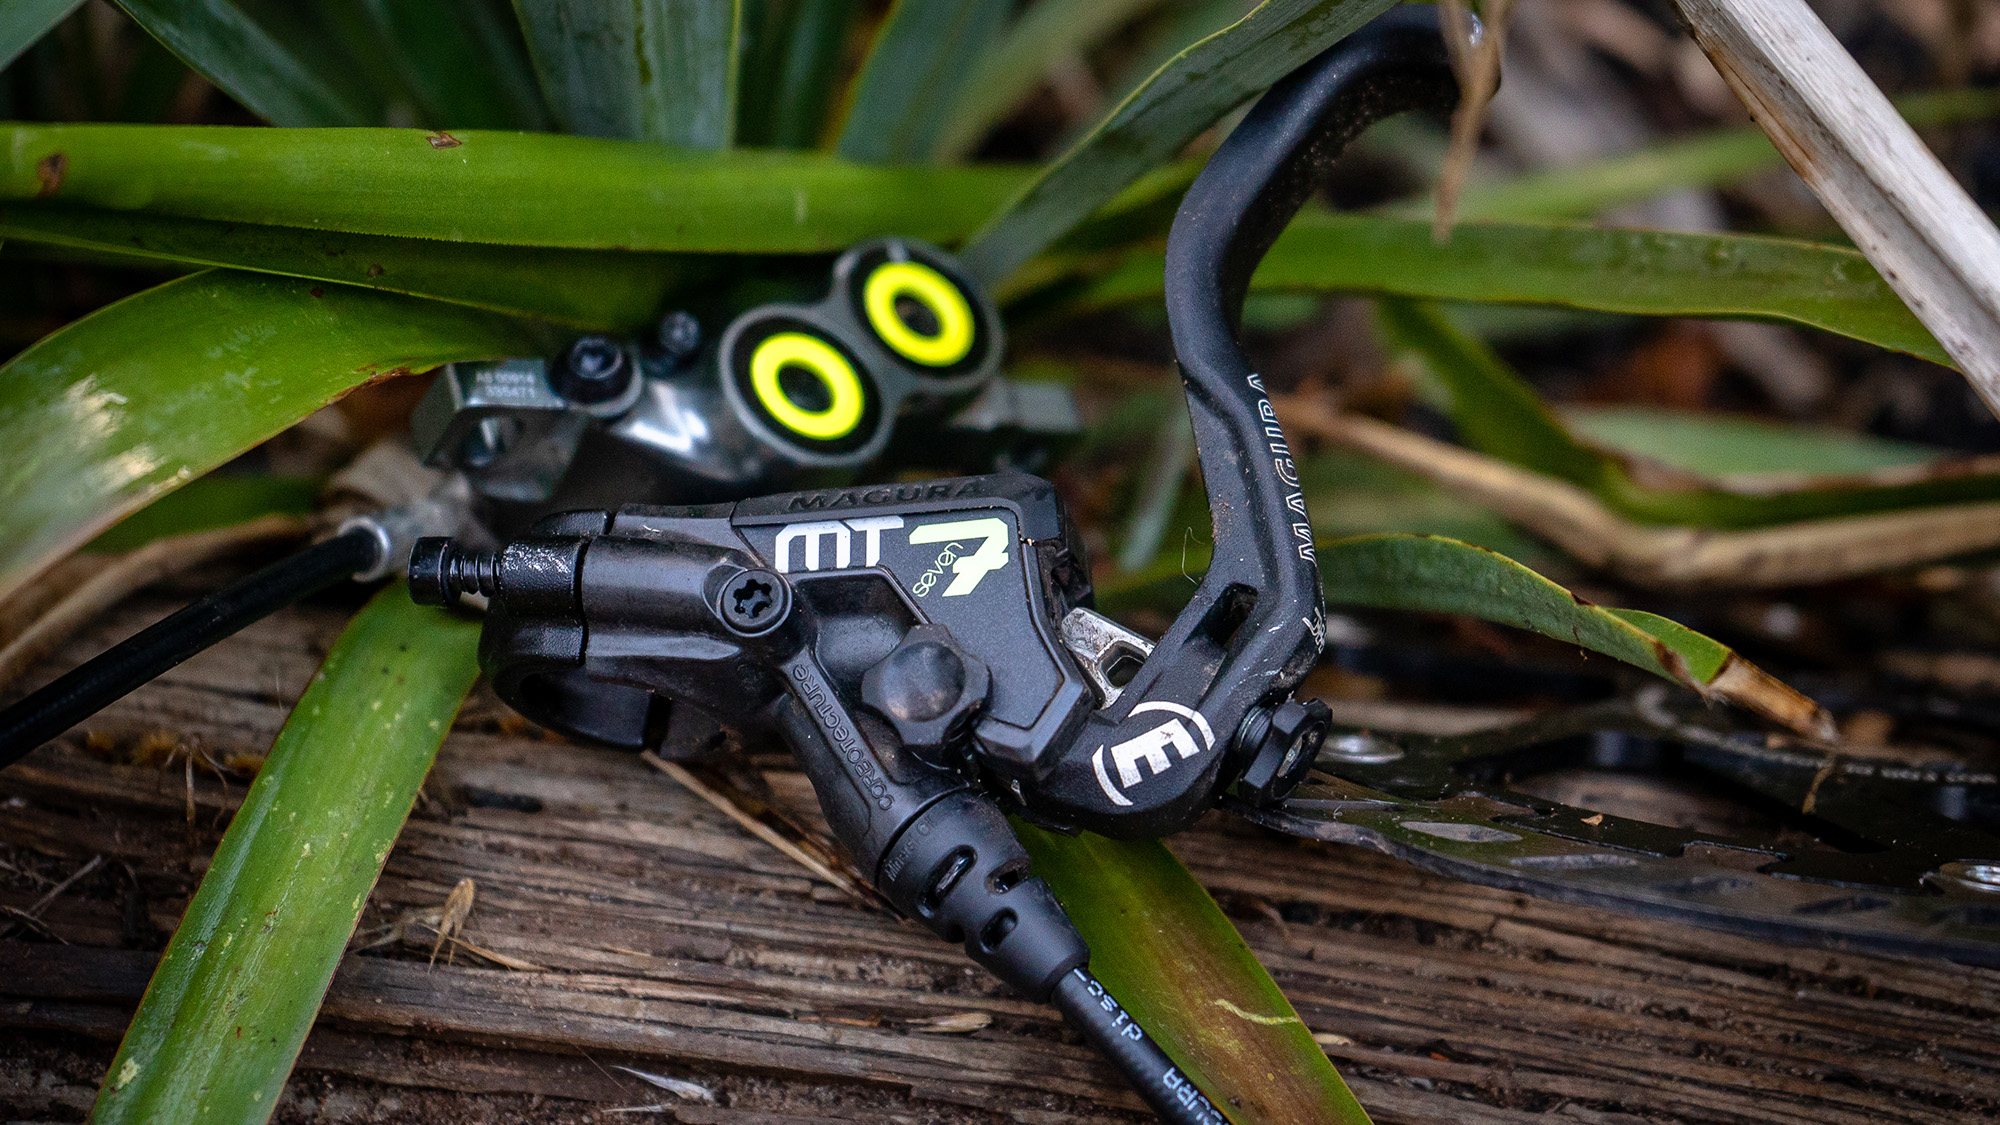
Magura MT7
Magura has been a staple brand in high performance motorbike brakes and the automotive industry for many years now. After coming into the MTB scene way back in the nineties, they have been making waves with crazy and innovative designs. Anyone remember hydraulic rim brakes? In the present day they are known for weird visual design, customization, and bright colours but, how do they perform?
The first time I picked up the MT7 lever I had to pinch myself and make sure I wasn’t dreaming. Because of its minimalist design and the use of a carbon/polymer composite materials in its construction, the lever is by far the lightest on the market. Due to the radial master cylinder the look of the levers develops a love/hate relationship with those worried about aesthetics. The benefits of this design include more power, less moving parts, mechanical bite adjust and the ability to customise the brake feel with different levers. On my test set I was provided with the one finger HC lever blade. This blade has been optimised for one finger braking and an instant feel of power at that finger tip. Thanks to the radial piston design all lever input is direct and instant thanks to the lack of moving parts. There is a reach adjustment on the lever to dial in the lever position in relation to the bars. There is a “mechanical” bite point adjustment that alters the pivot position of the lever and effects where the lever sits when the initial bite is felt. This is a bit different to other brands that alter the bite point by moving the master cylinder or advancing the calliper pistons. Maguras decision to do this is smart because the distance between the disc and pads is consistent, meaning if you bend your disc or get mud in there it won’t affect performance. The downside to this design is there isn’t a huge amount of accuracy and to be honest, I didn’t really feel much change at all.
Getting these brakes fitted was a clean and tidy affair thanks to someone at Magura paying attention to the little things. Firstly, the brakes come with one length of hose long enough for either front or rear, no mistakes can be made in ordering the wrong brake. When you cut the cable usually you end up with fluid everywhere because you can’t block the hose. Magura provides little plastic plugs that stop any fluid leaking out as you route it through your frame. You can also plug at the lever to stop fluid going all over the floor. Just a nice small touch. Once all plumbed up and ready to go, it is time to address bleeding the brakes. Magura brakes are notoriously hard to bleed and it can be a lengthy process. There are techniques and tricks to make life easier but they will never be as easy as SRAM. To attach a syringe at the calliper it is best to make sure the calliper is above the lever so fluid doesn’t pour out. The bleeding at the lever is a little bit different as it is a semi-sealed syringe that just plugs into the lever. The syringe has a small hole in it to provide a similar style to Shimano but, you can push fluid down the system if you need. Just make sure you have the hole sealed when you take off the syringe or you might accidentally go full art attack on your fresh white vans.
There is a quick lever bleed available on You Tube which in my opinion is KEY to getting these brakes feeling right and I recommend you do it the day after install. Make sure you don’t tighten the bleed screw on the lever up too tight because it will snap REALLY easy. Just when you thought we were done talking about tech there is more. Magura discs in my opinion are the shining feature of these brakes. Any other disc would die under the performance Maguras callipers demand from them. The two piece disc is .4mm thicker than most conventional discs at 2.2mm. It is hard to look at these discs and ignore the funky tabs that interlink the alloy and steel pieces. While cold there is a visible gap between the two, as heat is introduced to the disk, it travels towards the tabs and dissipates into the alloy core. Does it work? F$#K yeah it does!!!

I have never had a set of brakes cool down this fast. You can overheat them, let go of the brake for a millisecond and it is cold again, truly mind blowing.
Outside of the little finicky bleed procedure and vague adjustments, these brakes have more power than Donald Trump and Kim Jong-un’s love child. They were my choice of brake in Maydena where I was riding Australia’s steepest while carrying 15kg of camera gear on my back. I am sure these brakes could stop me while riding down the Eiffel Tower while still giving me the control not to go over the bars. The modulation isn’t as obvious as the formulas or Codes, and there is a smaller window of no brake to all brakes. However, once I was used to the feel, it was hard to go back. There is no overheating or any inconsistency on long runs and I trust in the system that leads to me going faster and braking later.
If you overlook the quirky appearance and annoying maintenance, you will find one of the best performing brakes on the market. I now truly understand why Danny Macaskill trusts them to stop him on a dime and why Loic Bruni uses them to slow him down from warp speed. They are damn amazing and I don’t think I will be taking them off my bike soon.
Pros:
• Plenty of power
• Did I say they were powerful?
• Cooling ability
• Nice and light weight
Cons:
• Difficult bleed
• Adjustments are vague
• Not the best looking brakes around
 Shimano XT Trail
The first thing you will notice unpackaging these brakes is the attention to design. The XT Brakes resemble something you would see in a modern art museum. Sleek lightweight design, smooth flowing lines, and a dark black/grey finish to really finish the look. The big question is, does the performance match the look?
Shimano M8000 series brakes now feature 4 big ceramic pistons to apply pad pressure to the disc. The use of ceramic means the pistons move smoother with less lubrication and they aid in cooling the calliper by dissipating heat quicker. The ice tech pads have a new look that not only makes them add to the new look but aid in cooling the pads when things get hot. Smooth and cool is what it is all about at the calliper end. The levers take after their older XTR brother in looks and performance. The newer design sees a flatter lever blade for better ergonomic feel. The mounting clamp is wider and they feature a secondary point that contacts the bar close to the grip for a super stiff lever feel. Shimano still employs it’s “Servo Wave” technology to allow a quick initial engagement of the pads, then a more modulated feel once contact is made. A feature of Shimano’s since as long as I can remember.
Thanks to the easiest bleeding procedure out of all the brakes installation is a breeze. The levers come pre-installed with an olive and compression nut partly tightened. The open end of the hose has a cap that prevents any fluid leaking in travel, however it can be a pain for internally routed frames as it is slightly fatter than the hose and won’t pass through the holes. Theoretically it is as simple as plumbing the hose, cutting to length, removing the cap, installing the barb, pushing the hose into the lever and once the compression nut is tight then you go shred hard.
Unfortunately, anytime a hose is disconnected and reconnected air will get into the system. Fortunately, a quick lever bleed on these brakes takes all of about 1 minute. Remove the bleed port bolt, screw in the Shimano bucket, pour in fluid, flick the lever a few times and using the little plunger you can pull the bubbles out. Repeat this process until the bubbles stop showing. Bleeding while the lever is at -30, 0, and 30 degrees will ensure bubbles won’t be trapped. Guaranteed to work every time in under a minute, these brakes are any mechanic’s dream. Thankfully I didn’t need to do a full bleed but, even if I had to it would have only taken five minutes.
Bedding in the XT’s is by far the fastest on this test. 30 seconds into the first run and they were good to go. A quick tip I learnt from someone a while back is to drop some clean water on the pads, rub them together until the shine disappears, dry them with a clean rage and half the bedding procedure is done. A god send to anyone installing new pads or Shimano brakes. Once bedded in and performing at their best, there was all of the power available all of the time. Like Shimano brakes in the past, they have a very on/off feel. Jumping between the Formulas and these made it even more apparent. The pad engagement is fast and direct, allowing you to lock up a wheel fast when you need to. A downside however, the lack of modulation through the mid stoke.
It takes a lot of finess to modulate these brakes, every minute degree of lever movement makes a huge difference in power. It is that polarising feel that creates a love hate relationship with these brakes.
After getting used to the feel and adjusting my riding style I can see how some people love these brakes. Dive bombing into corners with confidence you can pull up intime is a fun experience that requires an adjustment in riding style and body position. All of my braking points changed and became a lot closer to features due to this extremely quick brake feel. However, I would find myself standing up in corners whenever I needed to was a little speed, something I attribute to the initial bite. The biggest downside to the feel of the XT’s was in loose terrain, when I needed some dexterity to adjust braking power without braking traction it was incredibly difficult. Something I have not struggled with in the past and a personal downside to the brakes.
Whenever I would return from testing these brakes, I would find an elephant in the room. While there are tonnes of features to these brakes they do have some odd quirks. The lever has a bite adjustment phillips head screw however, it makes the square root of f*k all difference. You could adjust this fully in or out on the lever and maybe have 1mm of difference in bit point if you are lucky. The bite point would also wander on my rear lever, sometimes it would be a little closer into the bars, especially at the end of a run. This did not change no matter how good the bleed was.
At the end of the day, if you like all of the power all of the time, you will love the XTs. A light feel under the finger leads to smooth actuation with easy access to full power. While it does benefit some riders depending on style, it can make riding harder for others. Personally I much prefer the modulation of the Maguras or Codes over the Shimano’s because I tend to ‘feather’ my brakes whilst riding.
Pros:
• All the power, all the time.
• They look so nice in the flesh
• Easy, low maintenance.
Cons:
• All the power, all the time.
• Noisey Pads
• Bite point can be inconsistent.