

Every couple of years we see someone come out with the “ultimate in bike fit”. Complete with ‘laser light show’, measurements, formulas and reasons you should be in EXACTLY THIS position. The thing is, in MTB, does this kind of fit have any real value? I’m of the belief that lasers are for hair rock bands and dropping say $300, plus suggested components, to be told an optimum position for a sport with so many variables is a hard pill to swallow…
The ‘laser light show’ fit originated on the skinny tyre side of bikes. Substantially less variables at play in that world. The theory was that kinesiology produced the perfect balance of power and aerodynamics. How’d that work out? Depends. A couple of years ago in one of the younger divisions of European road cycling there was a drug (banned at the Tour level) that essentially allowed these kids to stay down in an insane aero position for huge periods of time. Problem was they ended up tearing back muscles out… Anyhow. Another story for another day.
“Does MTB bike fit matter? Absolutely. Should you work to dial it in? Certainly. Just keep that $300 for the ‘laser light show’ fit in your pocket, learn some concepts and maybe buy a part or two from your favourite retailer.”
MTB fit has many facets so I thought this article should too. Some fit concerns are pure performance while others are based around physical limitations.
Well I’ve got enough grey hair and back issues to speak about the physical limitation side.
To ensure I had the performance fit covered I called BikeCo Pro Rider and Riding Coach Kevin Aiello. I’ve known Kevin for many, many years. Kevin worked at BikeCo in his teens and rode for the BikeCo Houseman Yeti Development team. He’s impressive to listen to when he speaks about bikes and bike setup. I actually took some clues from him and have been messing around with my fit slightly after our conversation.
 Physical Limitation Fit
OK. Starting with the less sexy one. But even if you’re in this boat check out what Kevin has to say about fit because you’re going to find some adjustments that will benefit your riding. I’ll keep this one short too…
The last couple of years really caught up to me. I’ve struggled a lot with lower back issues. The problem with the lower back is EVERYTHING in your body ties into it. In fact recently I’ve found improving my shoulder posture has minimized lower back and chest pain. Couple thousand dollars in doctor visits to get a “hmmmm” diagnosis or $24 for one of those instagram shoulder braces that I wore for 1 week to remind me where I should be. Again, another story for another day.
My fit has me more vertical when pedaling to ease the load on my lower back. To achieve this I went taller with my handlebars. A 40mm rise bar and 20mm of spacers under the stem have a fairly tall front end of the bike. Raising the bar height allowed me to stay in the a “normal” range with my stem length for improved steering input. Another option would be to run a shorter stem to stand your back up a bit but it generates less angular change.
Running my saddle just a touch shorter helps as well. I keep the seatpost set for my maximum seat height for climbing steeper stuff but will drop it a bit in the false flats now and then. This gives my back a bit of a change and helps minimize pain.
I’ve gone to flat pedals this year to ease stress on my hips and knees. I found my right leg, maybe from driving all these years, sits further out and much more “duck foot” than my left. Flat pedals let me move around.
Anyhow – here’s the point: These fit accommodations keep me riding with the least amount of pain. If you’re in this boat its important to have an idea of what’s hurting, why, and what positions or actions eliminate or minimize the pain. My fit has gone a long way to keep me on the bike for more miles. I also am aware not to go to full failure on a climb as I tend to “pull” the back out in those situations. I’d rather hike a climb now and then so I can ride again later in the week… The ego hurts less than the back!
 Performance MTB Fit
Kevin Aiello is a bike nerd. Like the guy really, really loves / knows / enjoys bikes. He is competent and succinct when he is in coaching mode. Instagram Kevin is funny – coaching Kevin is interesting. I had hoped for a few minutes of his time and some basic insight. Turned into a couple of hours. A full go through on his fit ideology as well as a cornering lesson!
Kevin Aiello
So the whole point of bike setup is to find a 50/50 weight balance. You need to find the center of the wheels from your home, or attack, position.Your home position on the bike gives you the ability to move powerfully in all directions. (stands up with his knees slightly bent, chest slightly forward as well as elbows bent holding an imaginary bar) My chest is up, my butt is back. I can stand up or squat down. I can pull the bars up, push them down, turn. This position gives me motion in all directions in case I come across a rut, stump, whatever. So now the trick is getting this (the home) position centered between your wheels.
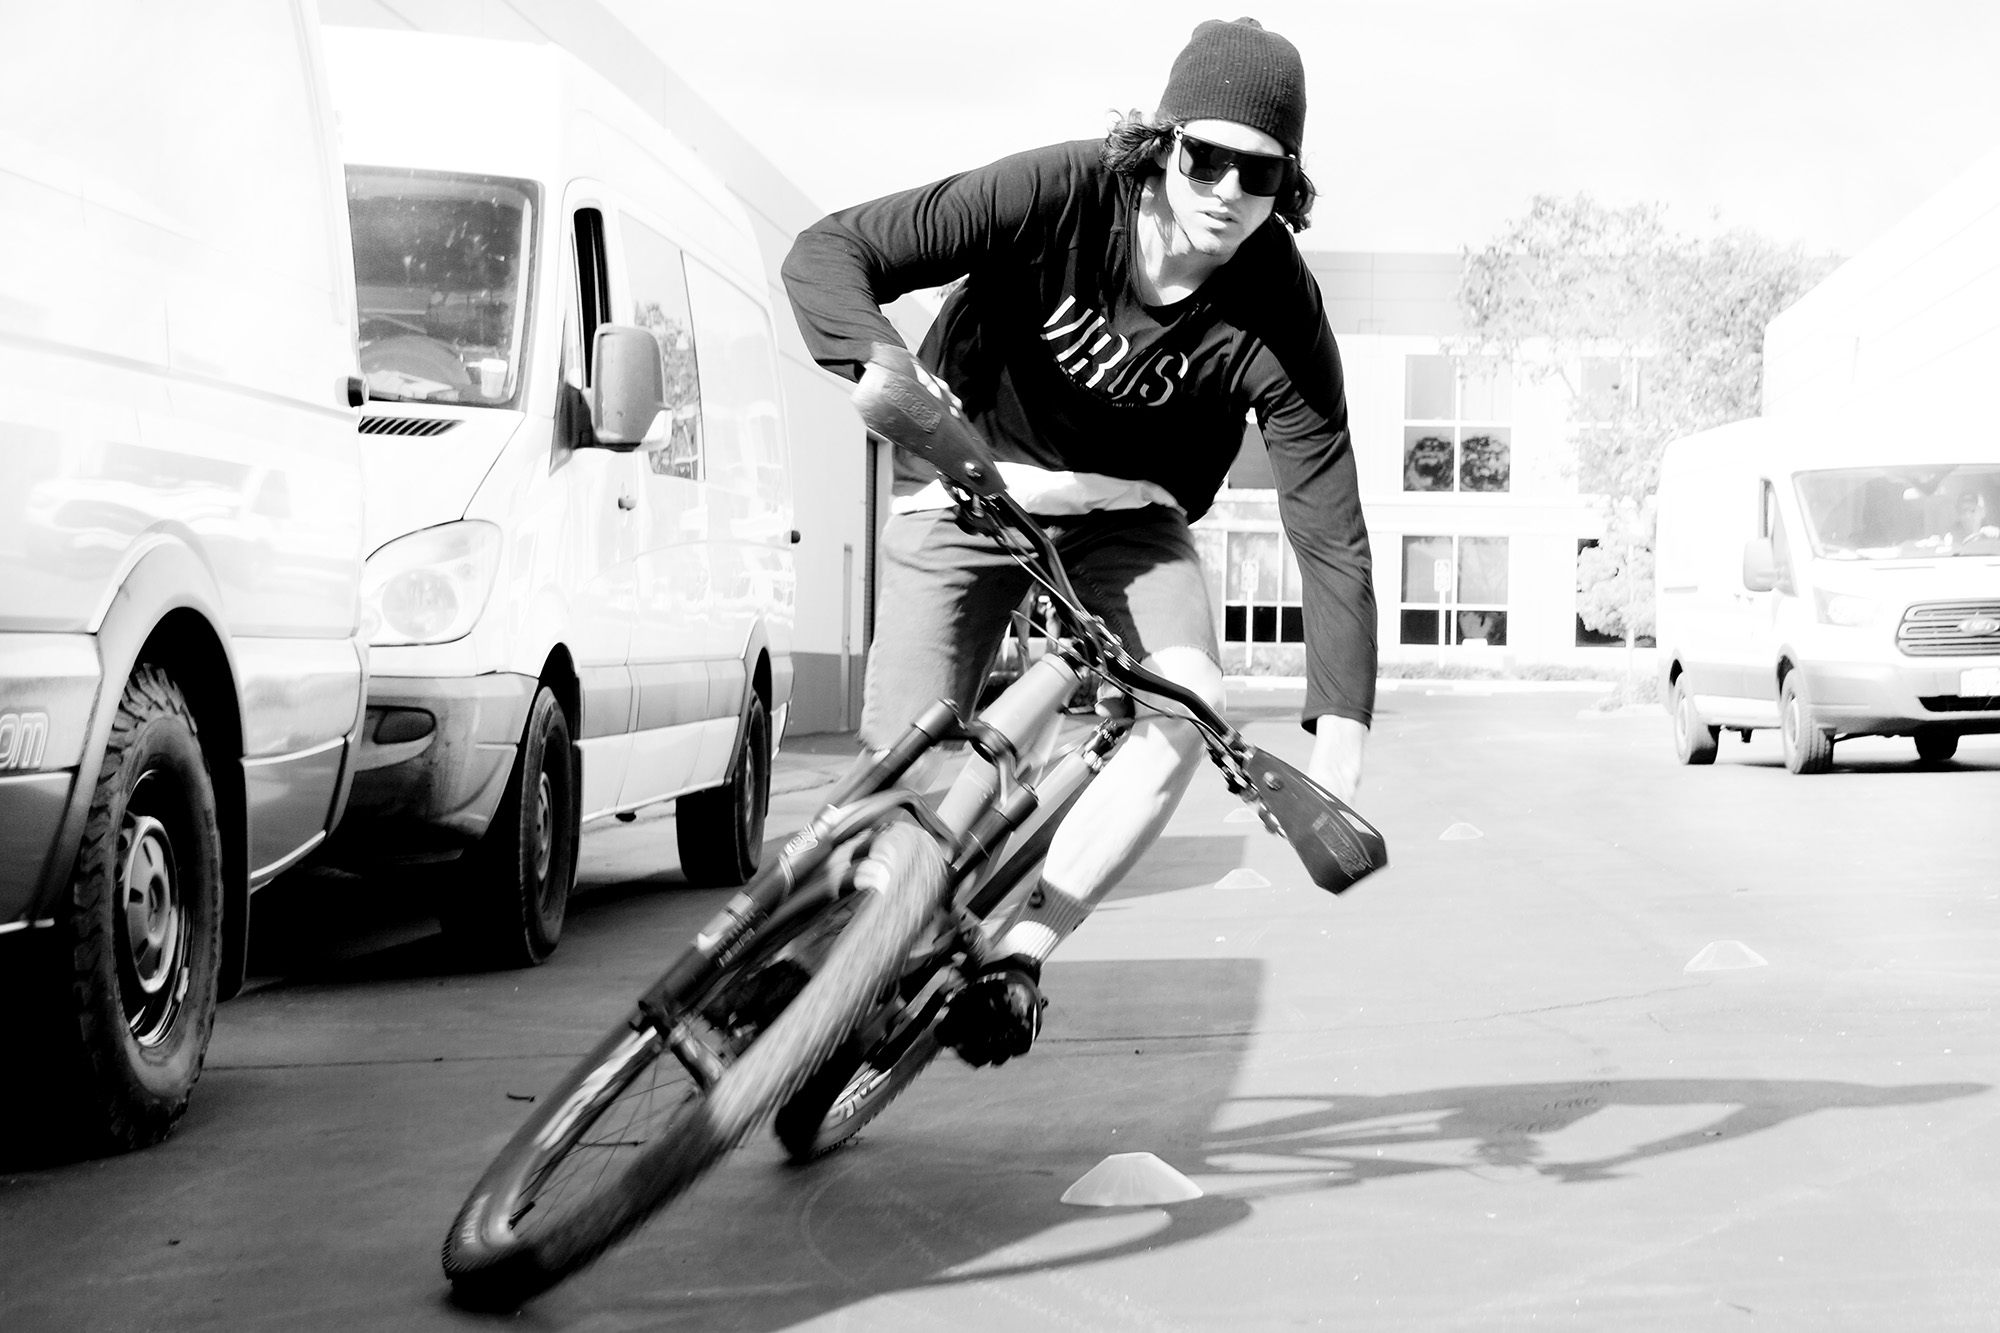
Now a good portion of balancing a bike is suspension setup. Once you’ve got that setup well you can work with fit and if you have to come back to suspension a bit. One way to find the balance point is doing cone drills. Come in and out of the cones, pay attention to your body position – maybe have your camera filming or whatever, and try to feel which wheel wants to give way first. The wheel that wants to give first is typically under weighted. Remember you are the heaviest part of the the bike and rider. If you are moving all over or getting in the wrong position you’re never going to find a mechanical setup balance. So the first part of setup is your style I guess. When you get a setup close on the cone drill take it onto the trail for fine tuning. Again it can be hard to know exactly what you’re doing so having someone film a couple of corners can help a ton when you review setup.
I think modern stems are 35 to 50, maybe 55mm for the best steering feel. The stem length changes how much your upper body weights the front end so a little change makes a big difference.
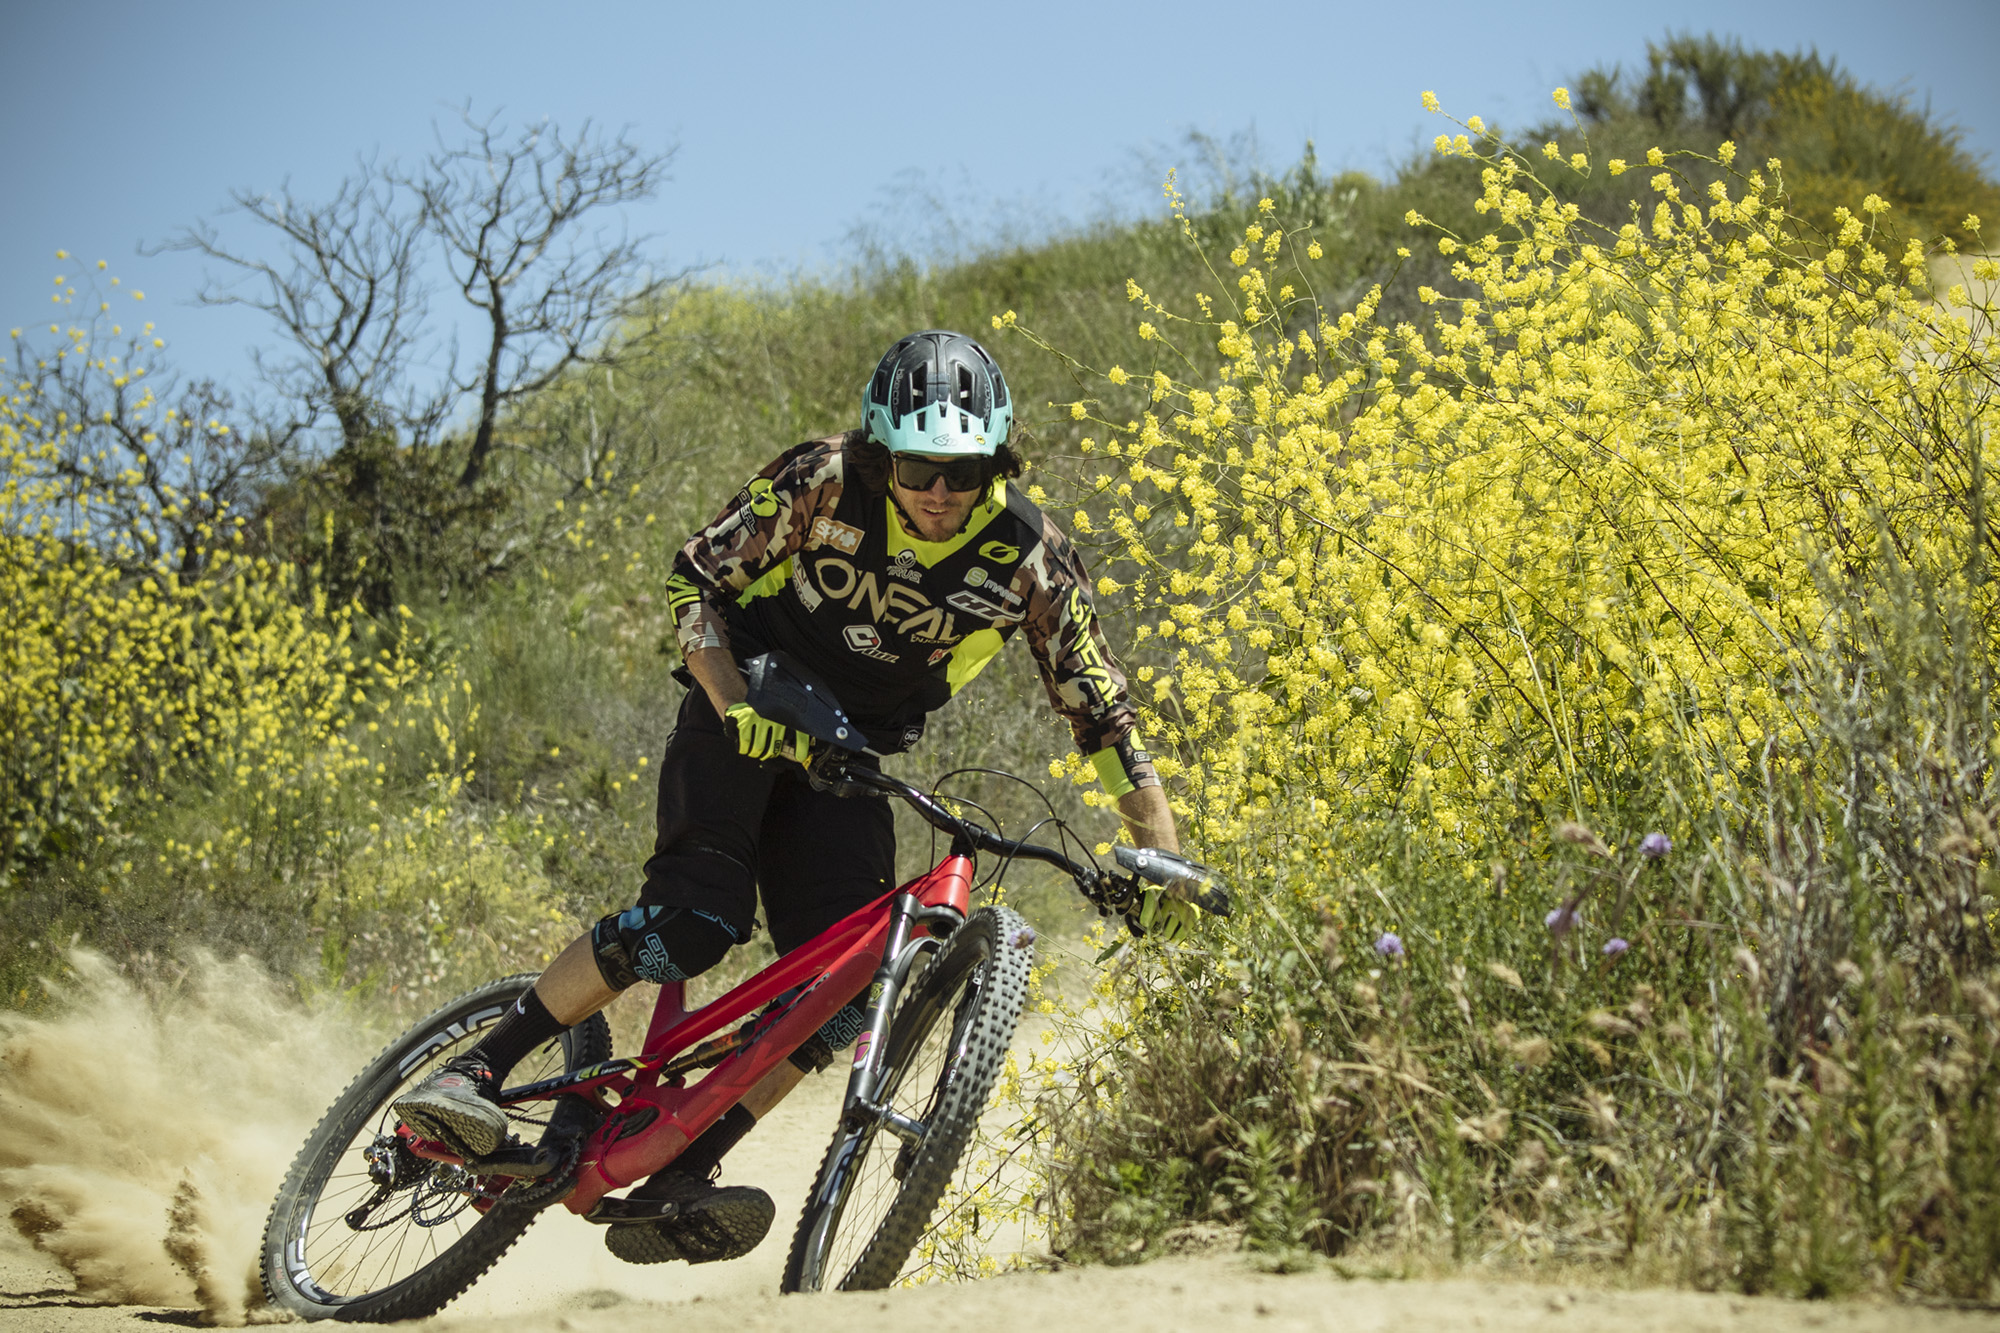
Bars are a huge deal. I like higher rise bars because a little bar roll adjustment makes a big difference. My bars are cut at 787mm. Wider than that and I can’t push down in the corners – I’m just along for the ride. You can see in the cone drill photo my inside arm is almost fully extended into the turn. If the bar was longer I couldn’t get the turn angle like that. I’m 6’3″. It cracks me up when I have a 5’8″ 5’9″ client coming in with 810mm bars. I get it. Wide bars feel good. I’d run 33″ moto bars all the time, except I can’t turn them. Small, powerful movements are what you want to be able to get with a good setup. Be realistic on your setup based on your size. It will help you ride better.
If you think of bike fit with a centre balance in mind you can break down what each part is doing. Basically are you moving your weight forward or backwards? Don’t move out of that powerful home position. Like if you have to find the centre balance by raising your handlebars so high you can’t pull up on them? Not good. So far forward you can’t push the bike forward? Probably gotta pull them back and maybe up to get that balance point in a usable home position.
In the cone drill can you corner leaning the bike more than your body? Or does your fit compromise the position and force you to lean as much, or more than the bike? That means your power isn’t perpendicular to the ground and you’re more likely to lose the bike in a slide. If you can keep your body positioned close to perpendicular to the ground, flat ground or a berm or whatever, and the bike starts to slide you’re going to slide with it. If you’re leaning too much and the bike starts to slide it’s like your weight pushes the bike harder into the slide and down you go.
“It’s really an eye opening moment for my coaching clients when we get a bike balanced for the first time. You can corner faster in a more powerful, confident position. It’s the beginning of the magic of riding fast.”
Kevin Aiello
To touch on pedal setup for clipless riders – make sure you are warm when you try to figure out the position. I have my clients stretch and spin until they’re fully warm before we mess with foot position. If you’re not warm you might have some weird setup. Maybe you slept on your side weird and one hip is tight. Well what feels good in the parking lot when you warm up might be way, way out of place.
Lastly my advice on fit, unless you know for an absolute fact something isn’t going to work give it a ride or two. Any change I make my impulse is ‘nah I don’t like it’. That’s just human nature.
So Where Would You Start?
Well on a new bike, or fork, don’t chop the steerer completely flat! Give yourself some room for stem spacers. I tend to start with at least 30mm of stem spacers. Two 10mm and two 5mm so I can mess with the stack in increments. This allows you to change the angle on your back when pedaling as well as the front wheel weight when descending.
Be realistic with your bars width. Start a bit wide and come down in small cuts to find a sweet spot. You can always trim more, you can’t weld it back. Bar width is ideally based on your shoulder width and arm length. You should be in a powerful position, kind of like a pushup. If bars are too wide you lose some of your power or ability to stretch into the correct position as Kevin mentioned in the cone drill. When bars are too narrow the bike will feel twitchy or nervous. No one is taking back cut, mounted bars. So buy a quality bar the first time. There are huge differences in carbon layup, stiffness, rise, sweep, etc. Even bars with the same “dimensions” can feel different. If you have questions work with a quality resource to understand the bar’s personality.
When you pickup your new bike, or updated cockpit, try to pedal it in the parking lot to feel the balance with the stem. A quality resource will help you if you’re between sizes on stems. Remember you’re looking at how it moves your upper body weight balancing the wheels as well as your back angle for climbing.
Pedals. Find a setup that doesn’t cause you pain. Remember people aren’t 100% symmetrical. Warm up before you adjust cleats for the best fit.
Saddle. Super personal stuff. Find a saddle and position that you don’t really notice if possible. That’s the best advice I have there… Remember you might run a saddle a bit further back on the rails with the newer steep seat tube geo compared to your last slack seat tube bike.
Saddle Height. Lots of opinions (read: arguments) on this out there. I’m going to stay out of this one. Some basic concepts: If you’re too tall in the saddle you will tend to have a rock side to side. Too tall tends to be hard on your back. Too low of a saddle and you’re losing out on some power while putting strain on your knees. Remember you might be able to ride through muscle pain but once it’s joint pain it’s doing damage. Don’t mess with that.
Words // Nate @ BikeCo.com