
Words // Will Rischbieth Photos // Kane Naaraat
Step 1.
Prepare your tools! We use the park tool brush set which comes with a soft brush, a firm brush, and a sponge will be suitable.
Step 2.
Turn off your battery. This is a controversial one. Most manufacturers will say to remove the battery, however we have found that for anything other than majors cleans (ie: removing the entire drive unit) leaving the battery installed with harnesses attached is the most efficient way to clean your e-Bike. Some e-Bike error codes can be caused by water entry into vulnerable components like the handlebar remotes. We try to avoid hosing the remotes directly. Most manufacturers have now updated parts to become less susceptible to water entry.
Step 3.
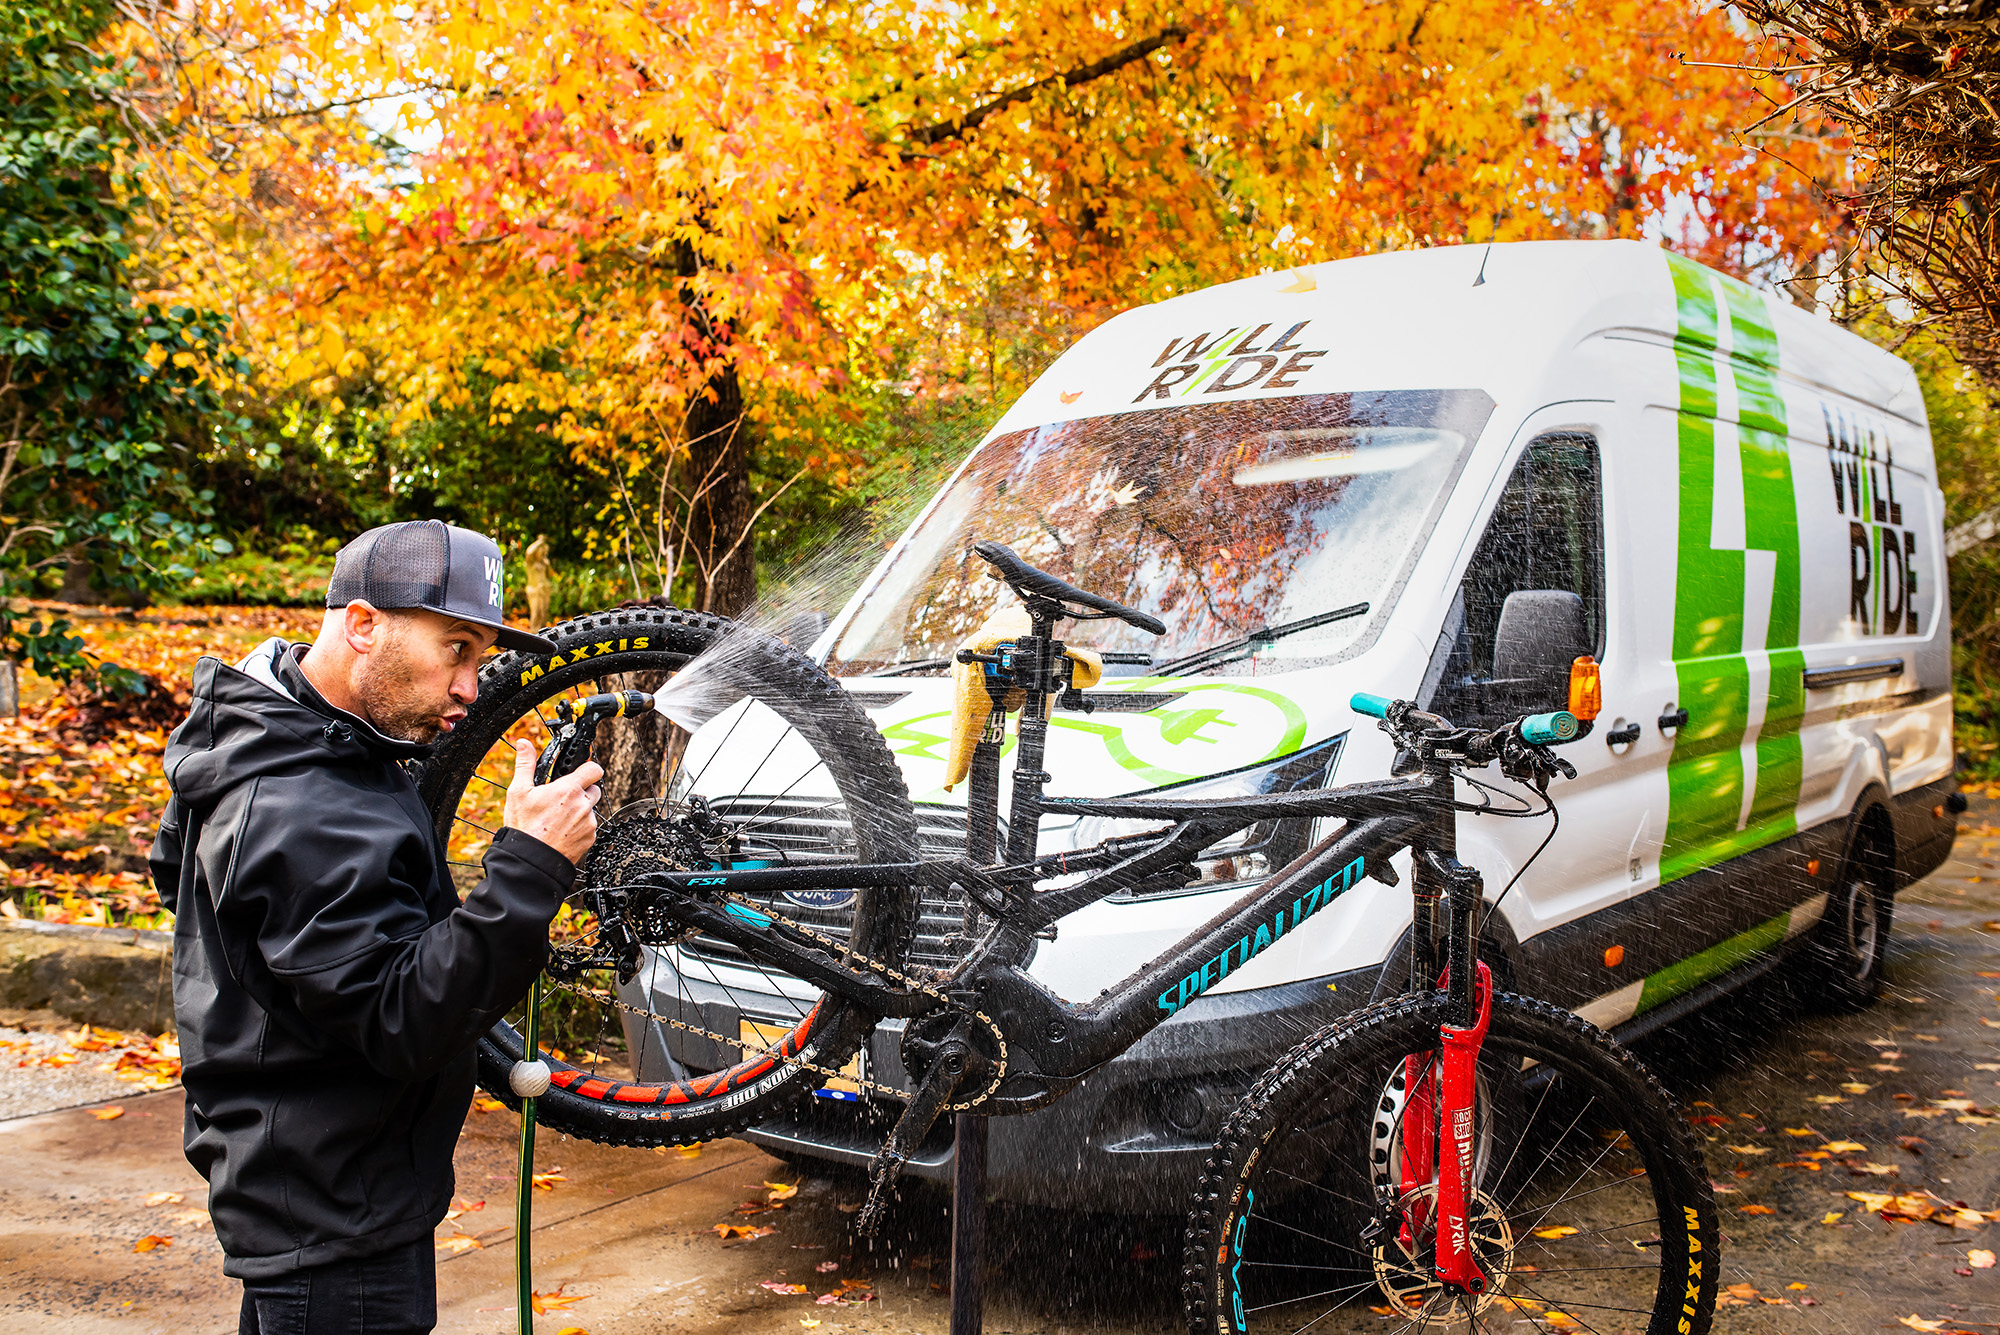
Place the bike in a stand the where you are free to spin the back wheel. This makes cleaning your drivetrain much easier. If you don’t have a stand, flipping your E-bike upside down like you would on a normal bike isn’t the greatest option, as you have handlebar remotes and display screens in the way that can get easily damaged. Worst case if you do need to flip your e-bike be sure to remove displays especially Bosch Intuvia style. For handlebar remotes, make sure they are not contacting the ground. Placing even timber chocks under the grips can help give you clearance for your remote.
![Salt2Snow [R]-41](https://i0.wp.com/revolutionmtb.com.au/wp-content/uploads/2019/10/Salt2Snow-R-41.jpg?ssl=1 "Salt2Snow [R]-41")
Step 4.
Get your suds on. Soak the entire bike with a nice spray. We like to use something bio friendly.
Step 5.
Scrub the tyres first and then clean the drivetrain. On e-Bikes, it is essential that you keep the drivetrain spotless for longevity and smooth operation. Will Ride bonus tip: Use an allen key to turn the chain ring backwards as the crank doesn’t engage the chain like a normal bike would, when back pedalling.
Step 6.
Our technicians focus on washing the nitty gritty parts first, like linkage areas, swing arm, seat rails, forks, spikes nipple area etc, as you tend the wash over easy items to clean like the frame, rims, whilst washing the nitty gritty areas. It’s all about efficiency, so that you can spend more time on the trails!
Step 7.
Once finished washing your e-Bike, use compressed air or micro fibre rags to dry your bike off. Standard bike wash procedures really. WILL RIDE bonus tip: Dry the chain and use a good quality chain lube. For e-Bikes we like to use a wax, (especially in winter) we find it keeps the drivetrain quiet and doesn’t wash off as quick as a dry lube in wet conditions.
Step 8.
Once the bike is dry, we use gods greatest gift to man, to keep our hire fleet and customers bikes fresh. We don’t talk about products much, but Maxima SC1 ‘new bike in a can’ is just so good. Not too heavy like other thick silicone sprays, but heavy enough to keep the mud off the down tube and nitty gritty areas on a winter ride. We use it after every wash and 1 can lasts a long time. It’s safe on plastics, great on fork seals, and literally brings the bike back to new every time. Like any silicone spray. Watch the overspray on your brakes, and avoid getting it on your seat and grips.
Step 9.
After your bike is sparkling and your chain is lubed, it’s time to test ride and make sure everything is still in working order for your next outing. Running a multi-tool over everything is always a good idea before or after every ride. Checking your brakes are working strong and gears are shifting sharp after the wash saves disappointment when you roll your e-Bike out for its next ride.
Before putting your e-Bike back on charge charge, make sure to check that the terminals on the battery are dry and then place your e-Bike back on charge for you’re next ride!
