

With cassettes costing upwards of $300 dollars, chains around the $100 dollar mark and suspension sitting in the thousands, it is pretty damn important that you keep in mind that preventative maintenance is the most undervalued part of owning a mountain bike. Not only will it save your hard-earned cash, but in a world where parts are rare to come by, preventing premature wear will keep you rolling for longer.
‘Clean is fast’, the long echoed mantra of many mechanics around the world.
A drivetrain caked in dust or mud won’t only sap watts out of your body, but it will also destroy every part of your bike. A dirty chain spinning around your chainring, cassette and jockey wheels is going to grind through those parts in weeks.
The same can be said about your suspension. With excess mud and dirt sitting on your wiper seals, every bump will slowly sand down your suspension. Wiper seals are a disposable item and could save you thousands if changed/cleaned regularly. Getting the internals serviced will be one of the best bang-for-buck maintenance procedures you can do regularly without a doubt.
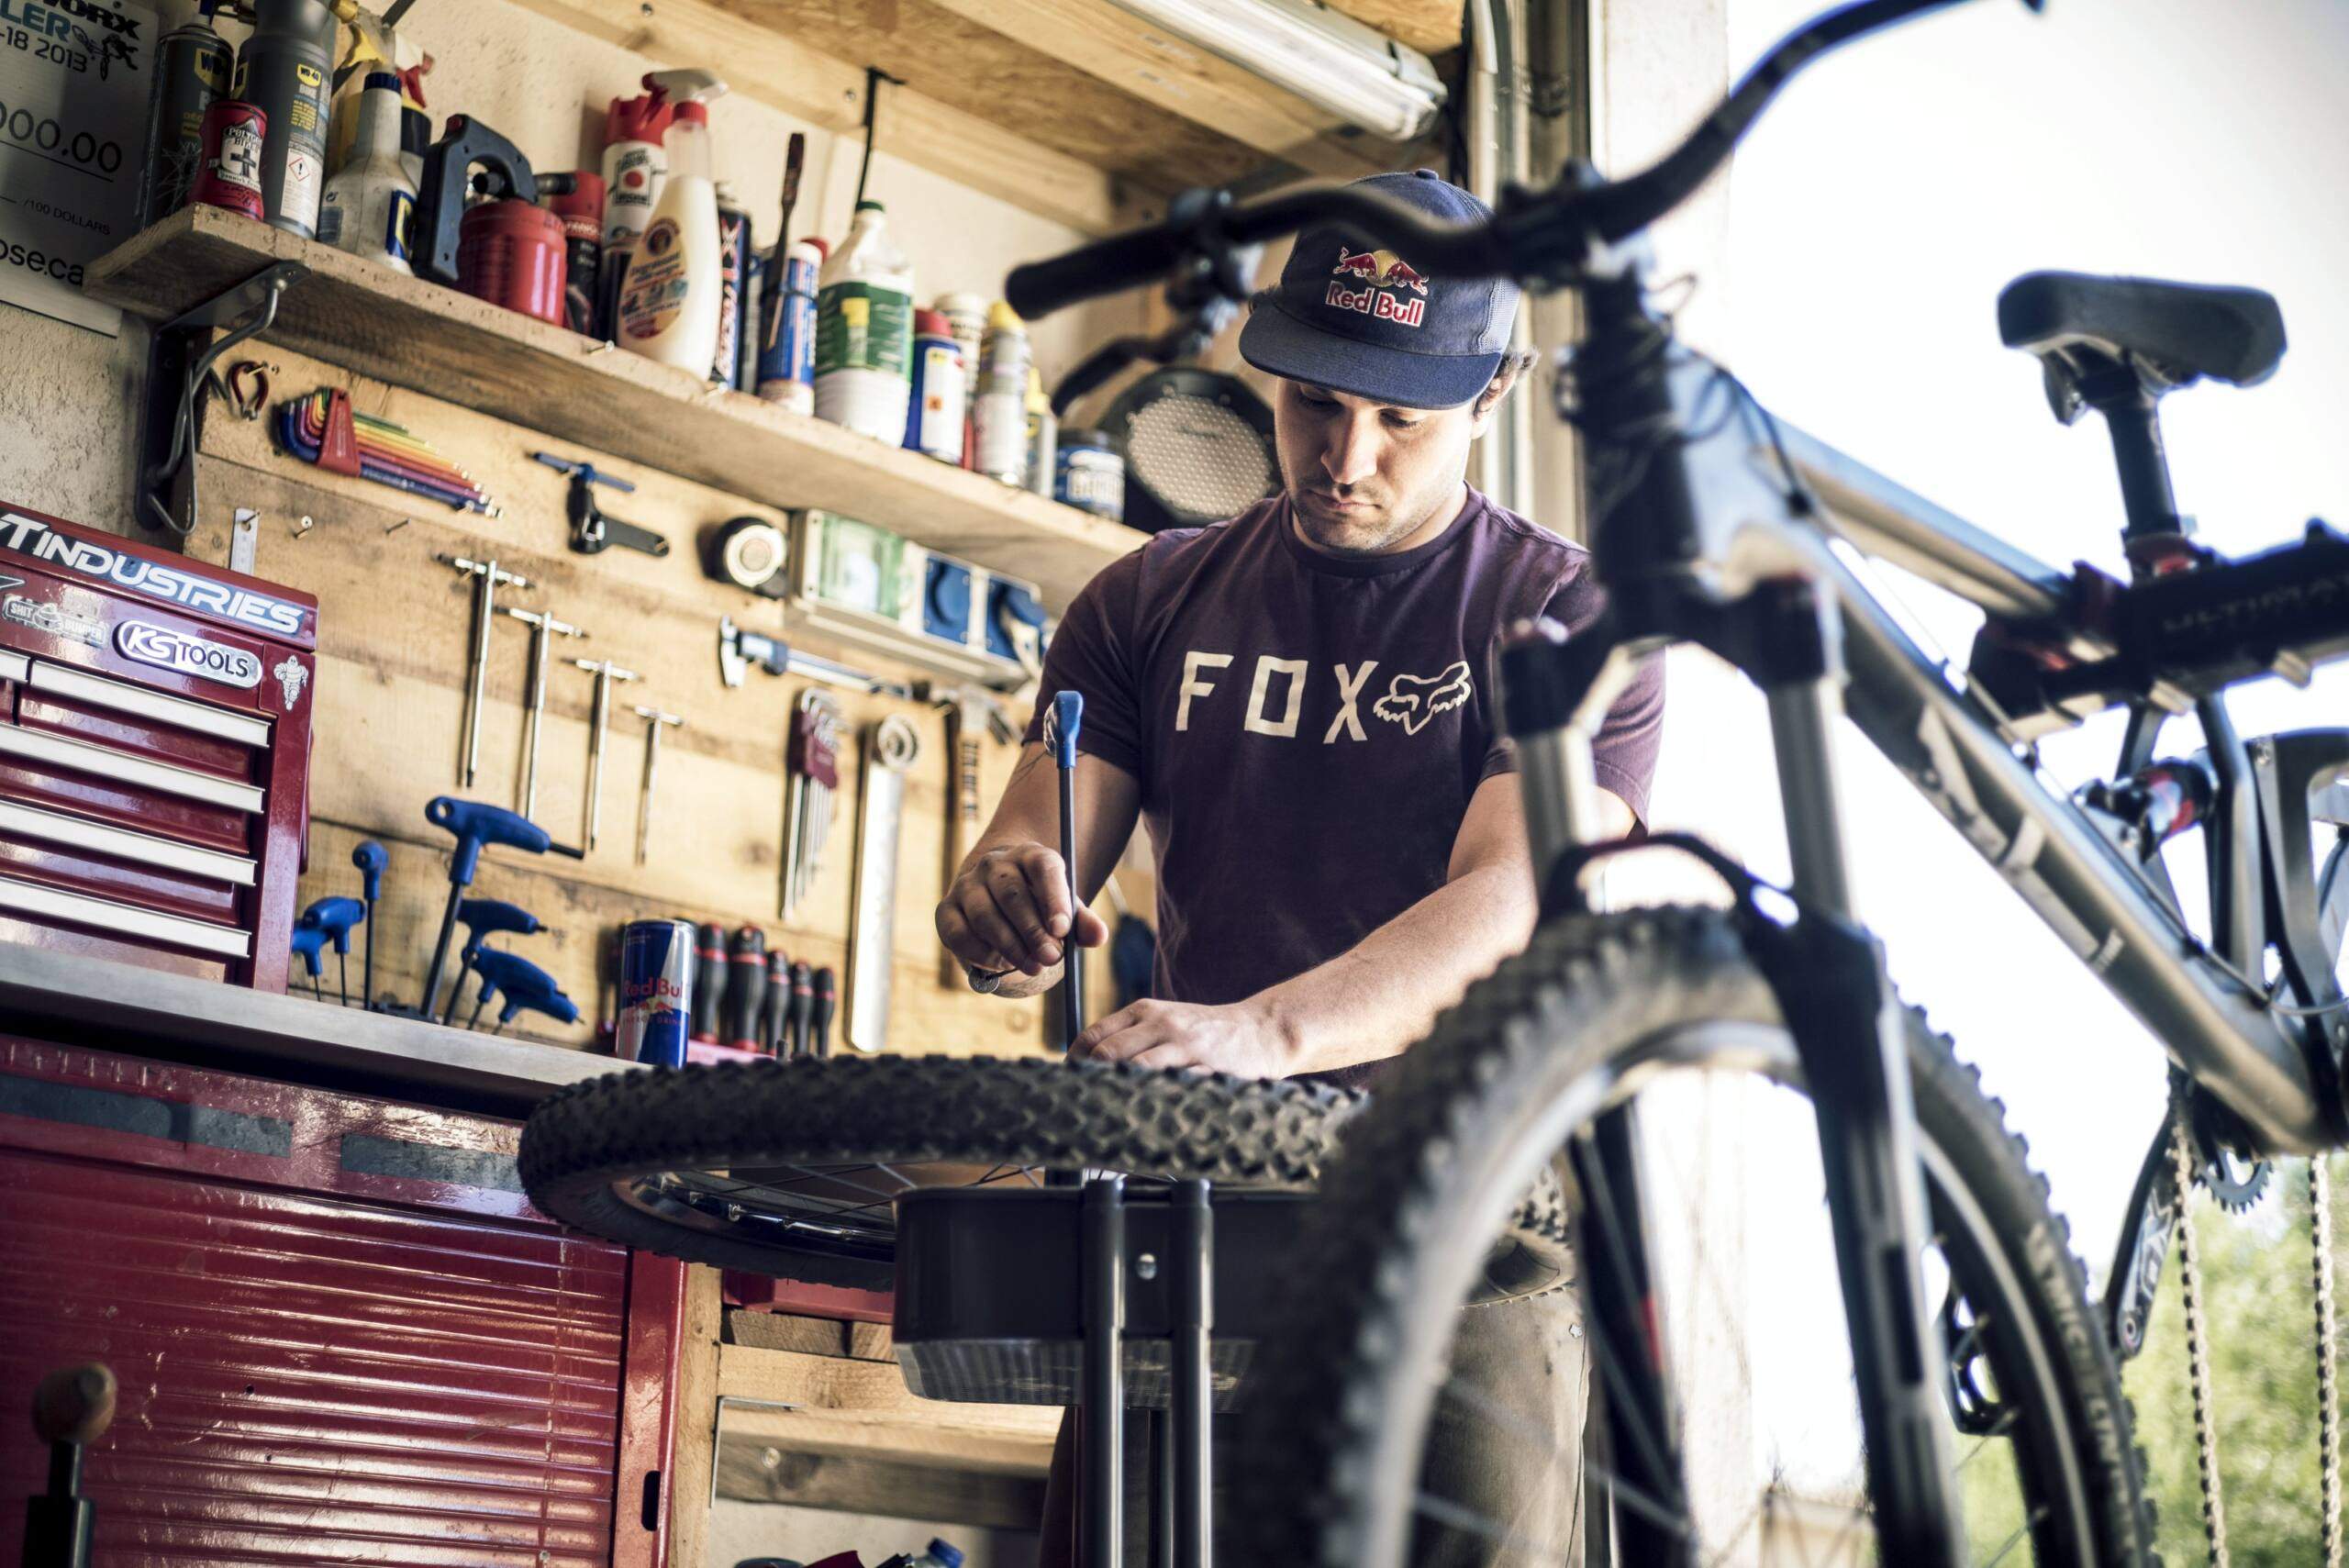
Every part of your bike has some sort of maintenance involved in ensuring that every ride goes smoothly and will extend the life of your bike. Let’s dive into how you can keep your bike in its prime.
 Cleaning
As we have already mentioned 100 times, cleaning your bike will keep it running smoothly for every ride.
While car washing solutions or degreasers will work on your bike, they are often harsh and will do more damage than good if not used correctly. Most bike shops will stock cleaning bike-specific cleaning products.
To accompany your washing liquids a good set of brushes will become your best friend. A large brush is perfect for getting heavy mud off your frame. A toothbrush and thin brush with long bristles will clean your drive train with ease. Finally, a small and a large bottle brush are great for cleaning your hubs or getting everything out of your brake callipers.
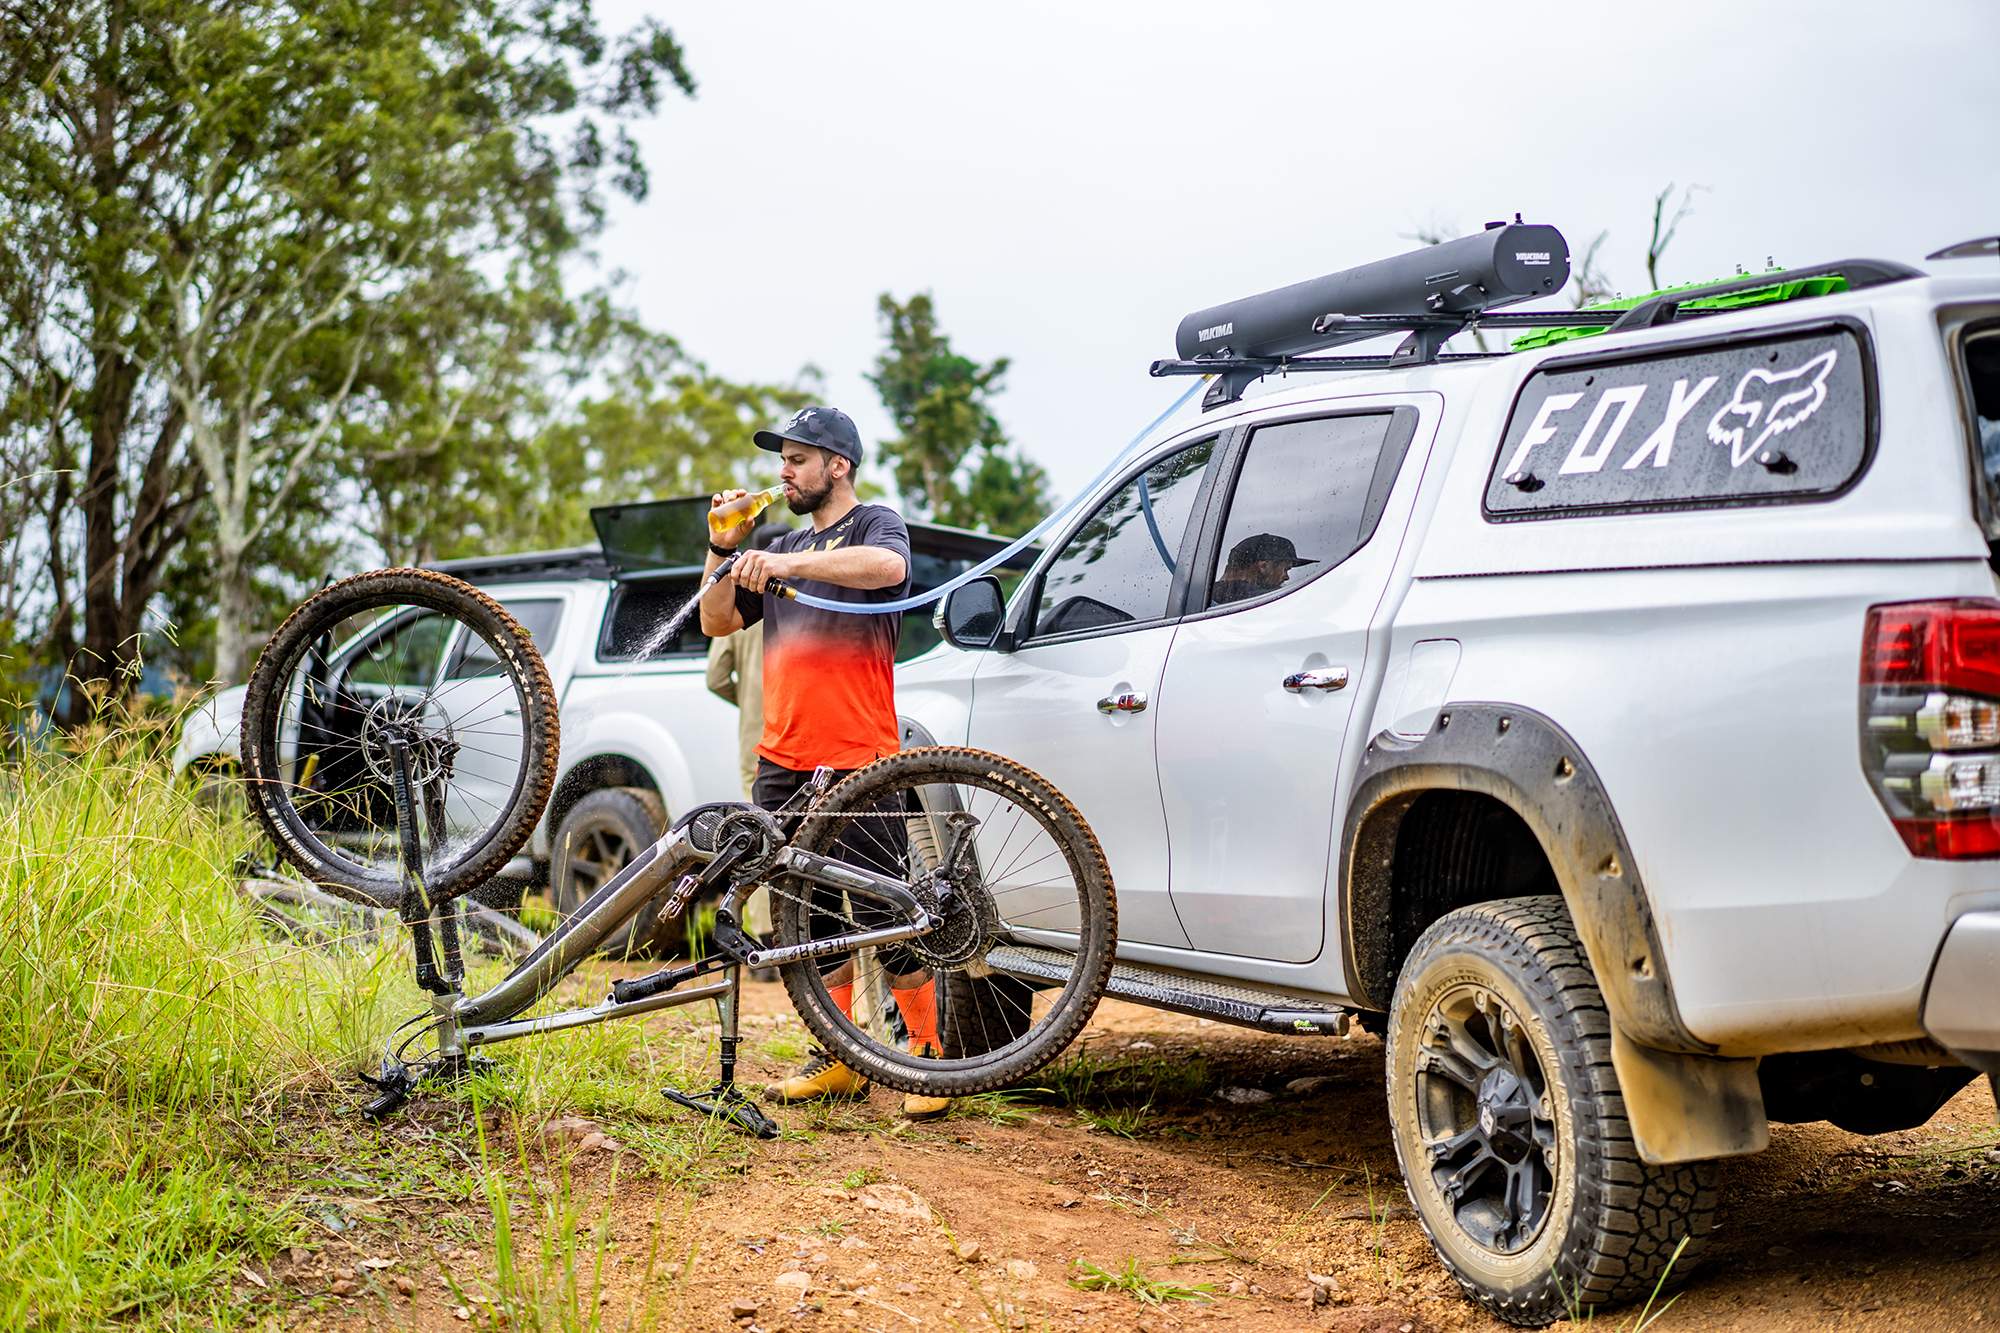
As for the process, it is extremely basic but, it can definitely be done wrong. We recommend staying away from the pressure washes unless you really know what you are doing as they can prematurely destroy bearings. Before washing, we recommend removing your brake pads and putting them in a safe place so they won’t be contaminated.
Hose your bike off to get rid of any loose mud or dirt before using any of the brushes. After hosing get your degreaser and spray it on your drive train while being careful not to spray too much excess on your disc rotors. Use your toothbrush and long bristles to scrub the cassette, chain and chain ring. Once you have completed that, remove your wheels (a good quality work stand will make cleaning your bike a breeze).
Now get your cleaning liquid and spray it on your frame, wheels and drive train. Letting it foam up and dissolve the crud for a minute or two will make the next step easy. With your bigger brushes gently scrub the bike frame, wheels, tyres and drive train. Stay away from your suspension components with any dirty brushes or bristles so you don’t scratch them. It is also a great idea to hose off or soak your brush in between sections to prevent cleaning with a dirty brush.
Now everything is loose or removed, a final hose off should get all the final bits of shite off the frame. Once it’s all hosed off it is important to dry the bike off with a microfibre cloth or chamois. Use the cloth to wipe any excess dirt away from the suspension components. Make sure everything is dry to prevent rust.
Lastly, silicone spray or after-wash sprays will not only polish up your frame but will also cover it in a protective layer and make the next wash easy. While you may want to spray directly on your frame may seem more efficient, off spray on your discs will cause contamination and loss of performance. We recommend spraying it onto a cloth first and then rubbing it on your bike.
Tyres and Tubeless
Before moving on to the brakes it is a good time to check your sealant levels.
De-bead your tyre if you are not running an insert and check your sealant level. It is also important to check your sealant is still a liquid and not beginning to solidify. If you are running an insert, remove the valve core and insert a toothpick or thin tube to check the level, this method isn’t extremely accurate but, it may be easier than de-beading the tyre.
De-beading the tyre will also give you a good chance to check your tape and valve to make sure it will hold your sealant. Once everything is checked and 100% add the recommended amount of sealant and re-inflated your tyres.
Brakes
Now you have a shiny bike, check your brake pads for excessive wear.
We recommend replacing your pads when there is less than 1mm of material. If you do replace your pads then we also recommend cleaning your discs with a disc brake-specific cleaner. You may also need to spread your pads back into the callipers. Install your old pads, place a tyre lever between the pads and gently push them back into the calliper. Install your fresh pads and install your wheels back into the bike.
If you have a set of vernier callipers laying around, it is a great idea to measure your disc thickness. Most discs are 1.8mm but, some brands are 2mm thick. If they measure .4mm less than their original thickness it is time for some freshies.
Squeeze your brakes a couple of times until they bite. If they feel spongy or pull to the bars then you may need to bleed them. If you are unsure about how to do this take your bike to a reputable bike shop so they can get them running 100%.
 Lubrication
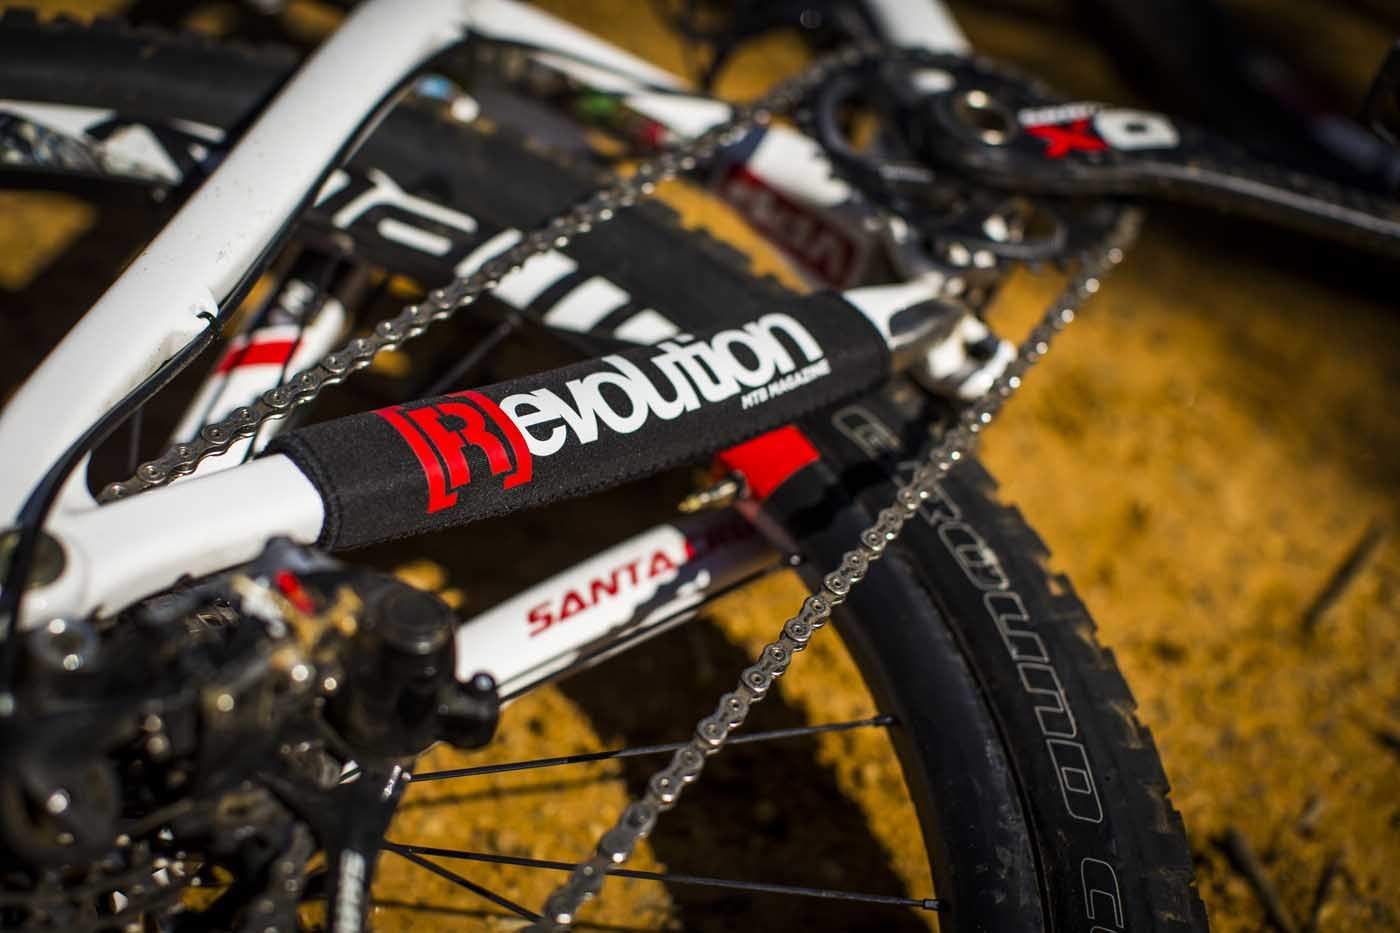
With your wheels installed in your bike, it is time to lubricate your chain and the moving parts in your drive train.
There are two main styles of lubricant used on chains with the lesser-used wax immersion technique.
Dry lubricants use a like oil or wax base to ensure maximum efficiency in the dry while not attracting dust. Dry lubes will often need to be applied more regularly and require more attention to re-application.
Wet lubes are thicker and designed to stay on your chain longer, however, they can lead to a build-up of dirt and oil on the chain. Wet lube often requires more cleaning and maintenance to ensure they don’t become a dirty mess.
Wax immersion involves an extremely clean chain, often cleaned using an ultrasonic cleaner, being dipped in hot wax. The wax is often warmed in a pot or rice cooker to become a liquid and the liquid wax will head into any small gap for maximum lubrication. When the chain is removed the wax will dry and become a lubricant throughout the chain. This method is proven to be efficient and last 2-3 times longer than most lubes but, it is a long process to perform effectively.
Bearings
With everything cleaned, lubed and installed it is a great time to check your bearings.
Spin the rear wheel and hold one of the seat stays, if you feel any vibration or hear crunching then it is time to replace the bearings. Repeat on the front wheel while holding the fork. If you are unsure, remove the wheel and spin the axle with your fingers. The axle should spin freely with minimal resistance or any notchy feeling.
While your bike is in the stand turn your handlebars to ensure they move freely and quietly. There should be no noise and no notching. Placing your hand on the head tube as you move the bars can help you feel any ill-feeling bearings.
If you are riding hard there is a good chance your frame bearings will need replacing. Removing your rear shock and cycling the frame through its travel will ensure there is no bad bearings in there. If you are unsure about fully rebuilding your frame and checking every bearing is a good idea. This can be a big job and if you are unsure, it is good to get a shop to check it over.
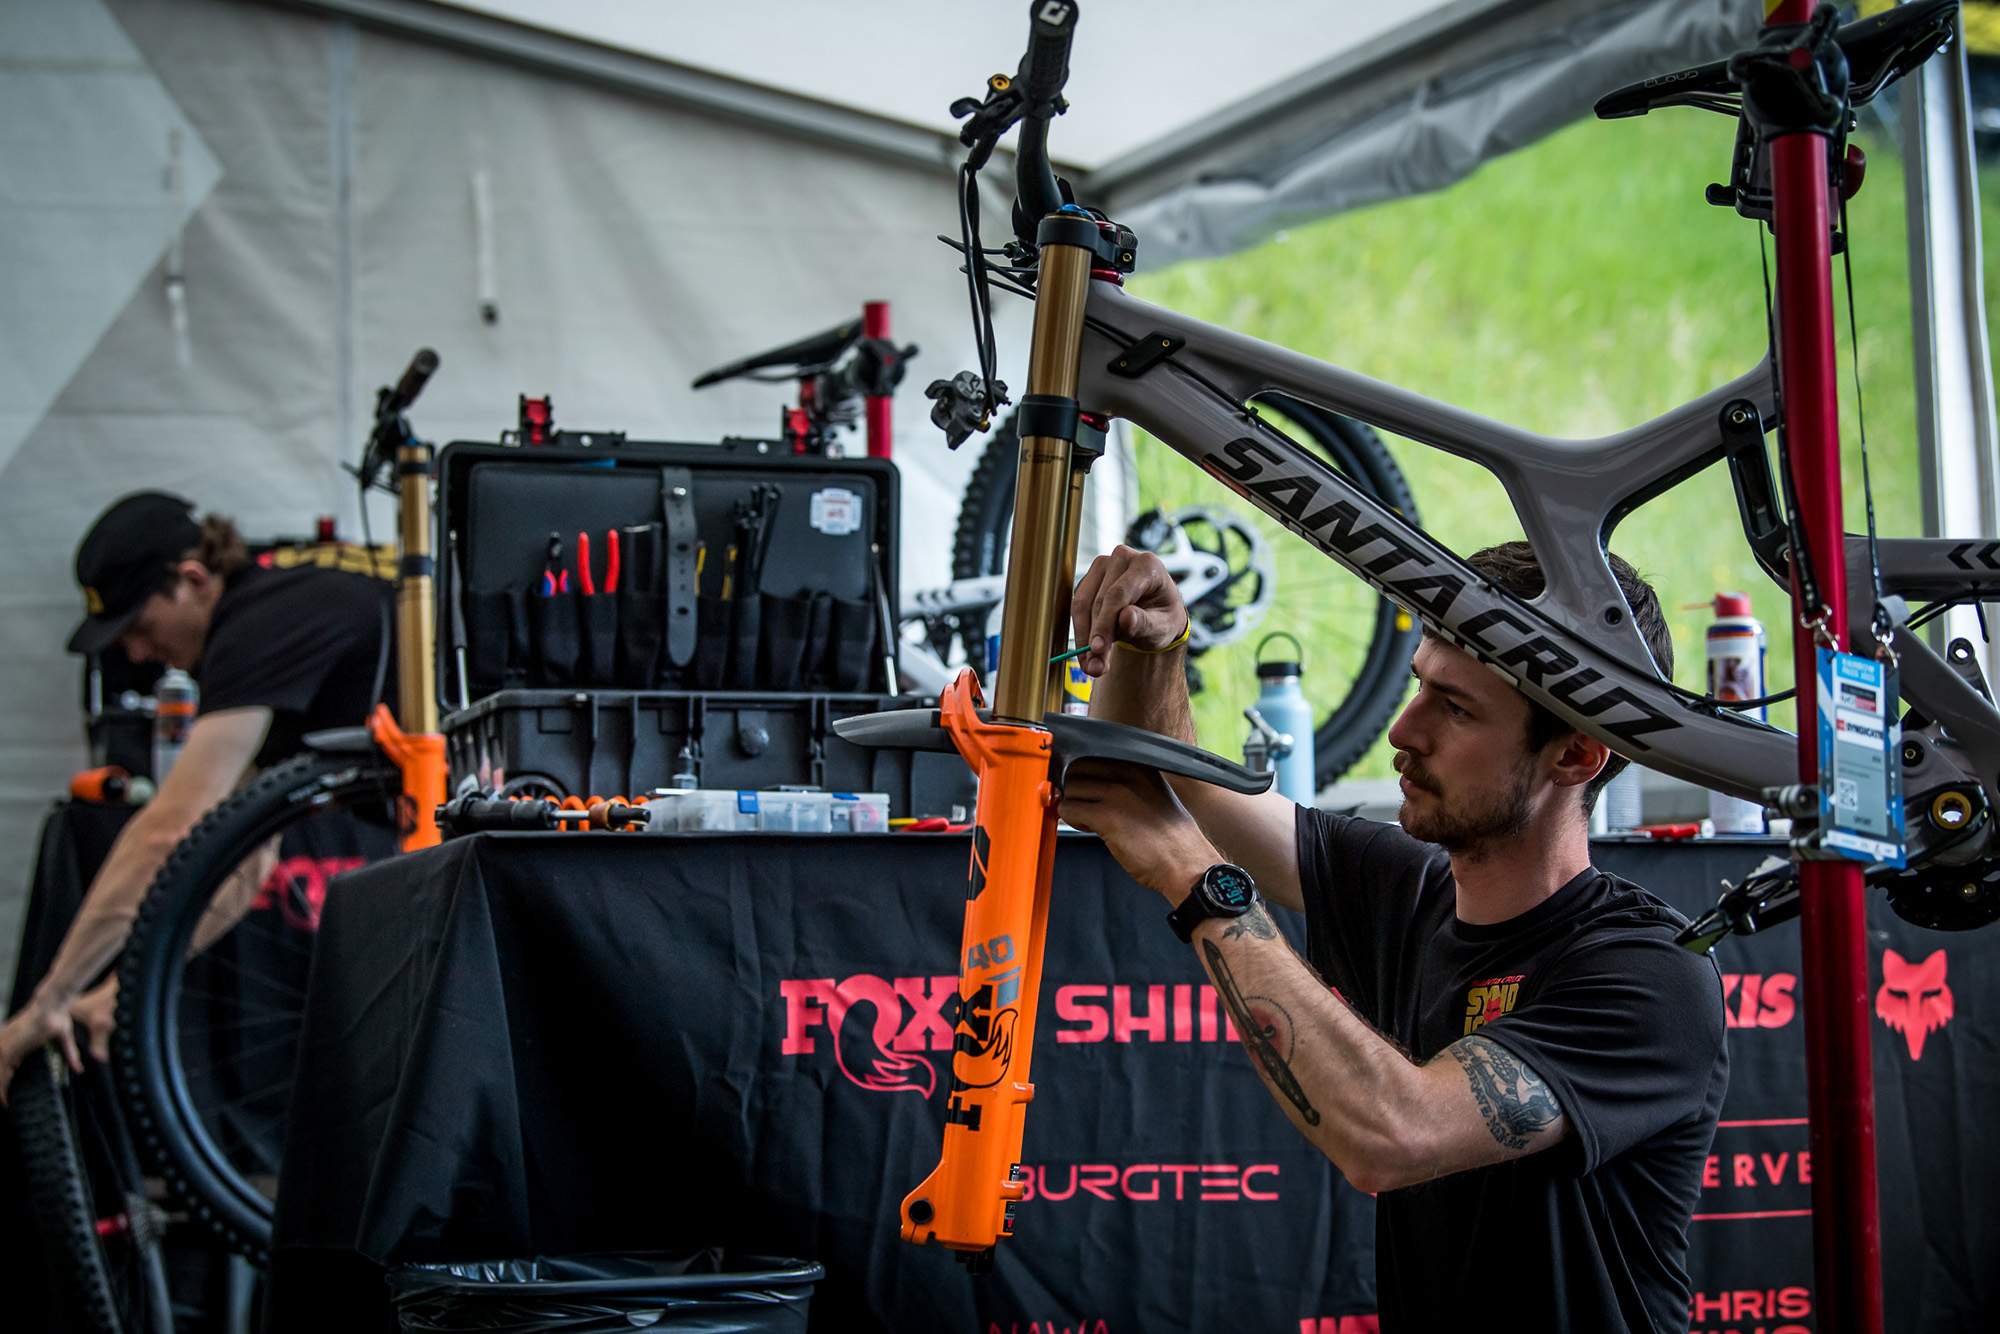
Suspension
Most suspension companies recommend servicing your air can/lowers every 50 hours and a full overhaul after 200 hours of riding.
While that may seem like a lot, if you ride 2 hours a week you need to get your air can service every 6 months and a full overhaul every 2 years. I can almost guarantee 75% of riders aren’t doing this.
An air can or lowers service is nowhere near as hard as some YouTubers make it out to be. All manufacturers have detailed instructions and after you have done it a couple of times doing the front and rear only takes 40 minutes.
Full rebuilds are best done by a professional and a couple of hundred dollars every year or two to save thousands of dollars sounds like a no brainer to use.
Now you know your bike is 100 per cent ready to rip and running better than ever it is time to go rip. Performing these procedures after every ride or at least once a month will keep your bike running better and for longer.
There is nothing better than jumping on your bike and trusting it will be ready to smash down a mountain. [R]