

This season, Rock Shox brought the highly acclaimed damper technology from their Pike fork, called ‘Charger Damper’, into their BoXXer downhill fork range. The new forks feel amazing, incredibly supple as they enter their travel, very very smooth as the fork rides through its mid stroke and then real bottom feel as the fork ramps up as it reaches its maximum travel. Everything you love about the ride feeling of a Pike only more exaggerated on a bigger travel fork. One of the coolest things about Rock Shox bringing this technology to their BoXXer range for 2015 is that they also brought out an aftermarket Charger Damper upgrade kit. And so for $499.95 (Australian retail) you can drop the Charger cartridge into any 35mm BoXXer (that means any BoXXer right back to the 2010 year model) and deliver the latest World Cup winning suspension technology to your tired old forks. What’s more, installing the cartridge is a relatively straight forward process and something that you can certainly achieve at home with modest mechanical knowledge and the right tools. Below is our step-by-step guide to installation, including a few little tips and tricks to help with the job along the way. You’re welcome!
The Steps:
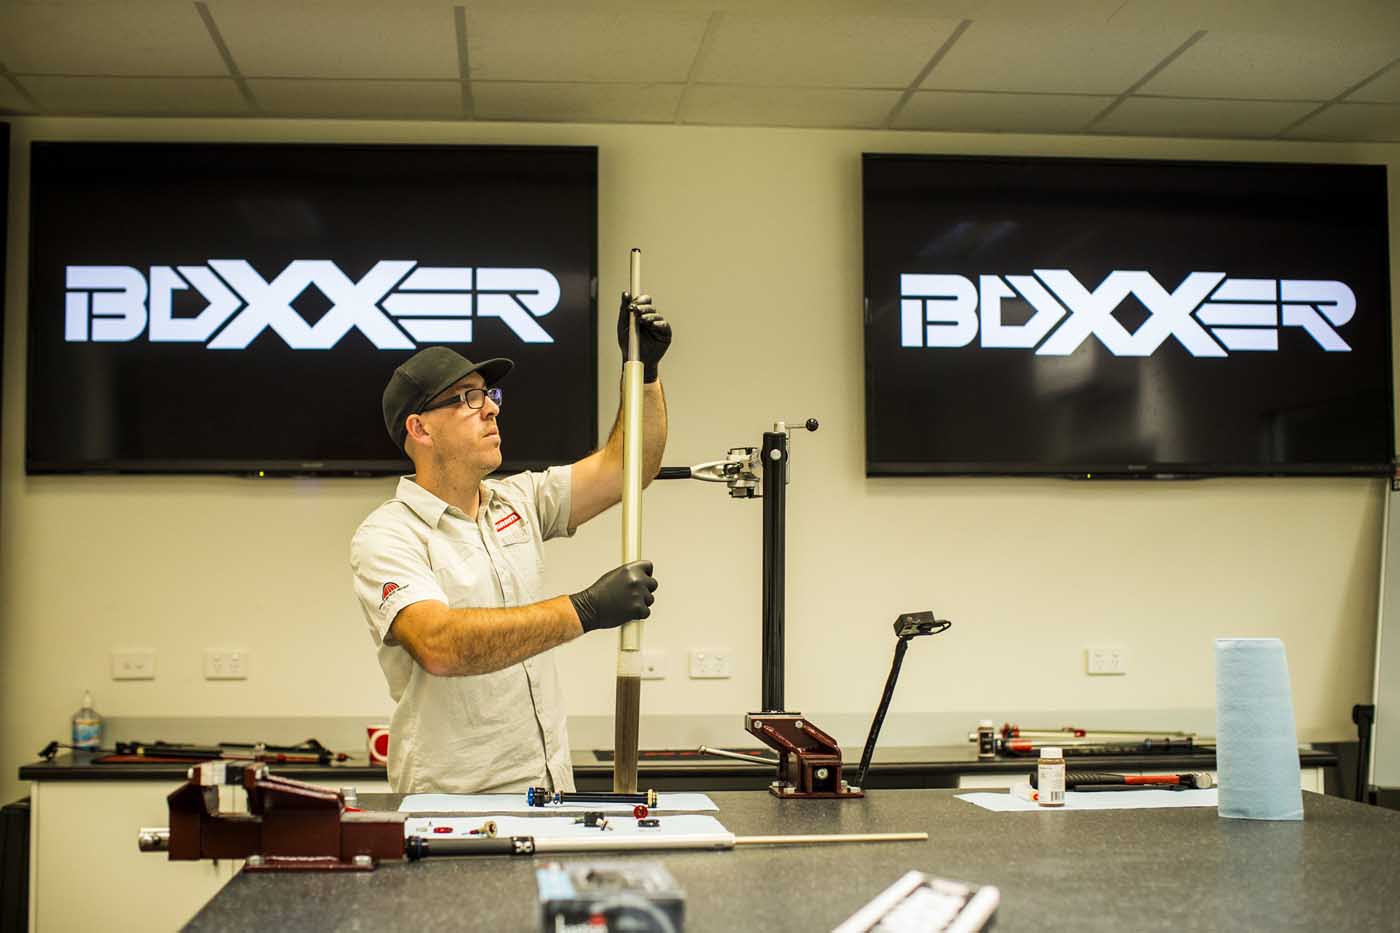
Before you get started it’s a good idea to make sure that your work area is clean and clutter free, then go the extra mile by neatly laying out all the individual pieces that come inside the Charger Damper upgrade kit box. There are lots of little parts in there and by laying them out before you get started it’ll make each step easier to understand, as well as ensure that you don’t put your forks back together and then realize that you’ve left out installing a bolt, washer or nob!
 Tim Bardsley-Smith")
Step 1:
To remove your BoXXer’s existing dampener cartridge and drive side stanchion (upper tube). It’s a good idea to check out the BoXXer service manual at www.sram.com/service for full instructions. There are also clips on YouTube that will step you through how to do this. There is no need to remove the air spring or non-drive side upper tube. Unless of course you are taking this opportunity to also service the lower legs and replace dust/oil seals, which is always a good idea.
 Tim Bardsley-Smith")
Step 2:
Insert the Charger Damper into the top of the upper tube using a 24mm socket to tighten the damper to 7.3 N.
 Tim Bardsley-Smith")
Step 3:
Apply SRAM Butter (or any good bike specific grease) to the scraper in the lower seal head and install it onto the rebound shaft with the flat side of the lower seal head facing the upper tube. Push the lower seal head into the bottom of the upper tube. Install the retaining circlip into the groove. Check that the retaining ring is properly seated in the retaining ring groove by using the snap ring pliers to rotate the retaining ring and seal head back and forth a few times and then firmly pull down on the rebound shaft.
 Tim Bardsley-Smith")
 Tim Bardsley-Smith")
Step 4:
Insert the casting plug onto the rebound shaft. Hold the shaft by hand so it does not spin. Use a 5mm hex wrench to thread the silver foot nut into the shaft until it stops, this will seat the casting plug on the shaft.
 Tim Bardsley-Smith")
Step 5:
Apply the supplied Loctite to the outside of the casting plug. Use isopropyl alcohol to clean the inside surface of the bolt hole of the lower leg.
 Tim Bardsley-Smith")
 Tim Bardsley-Smith")
Step 6:
Apply a liberal amount of SRAM Butter to the inner surfaces of the lower oil seals and dust wiper seals. Slide the lower leg onto the upper tube just enough to engage the upper bushing. Angle the syringe in the bolt hole so the fluid will only contact the inside of the lower leg. Try not to let fluid contact the Loctite, bolt hole or fill the rebound shaft. Then inject 10ml of RockShox 0w-30 suspension fluid into the lower leg.
 Tim Bardsley-Smith")
 Tim Bardsley-Smith")
Step 7:
Thread the silver foot nut into the rebound shaft. Use a 5mm hex wrench to tighten the bolt to 7.3 Nm.
 Tim Bardsley-Smith")
Step 8:
Install the rebound adjuster knob onto the silver foot nut. Hold the rebound adjuster knob in place and tighten the 2.5mm set screw to 1.1 Nm.
 Tim Bardsley-Smith")
Step 9:
Install the low speed compression adjuster dial and retaining screw. Use a 2mm hex wrench to tighten the screw to 1-1.5 Nm.
 Tim Bardsley-Smith")