


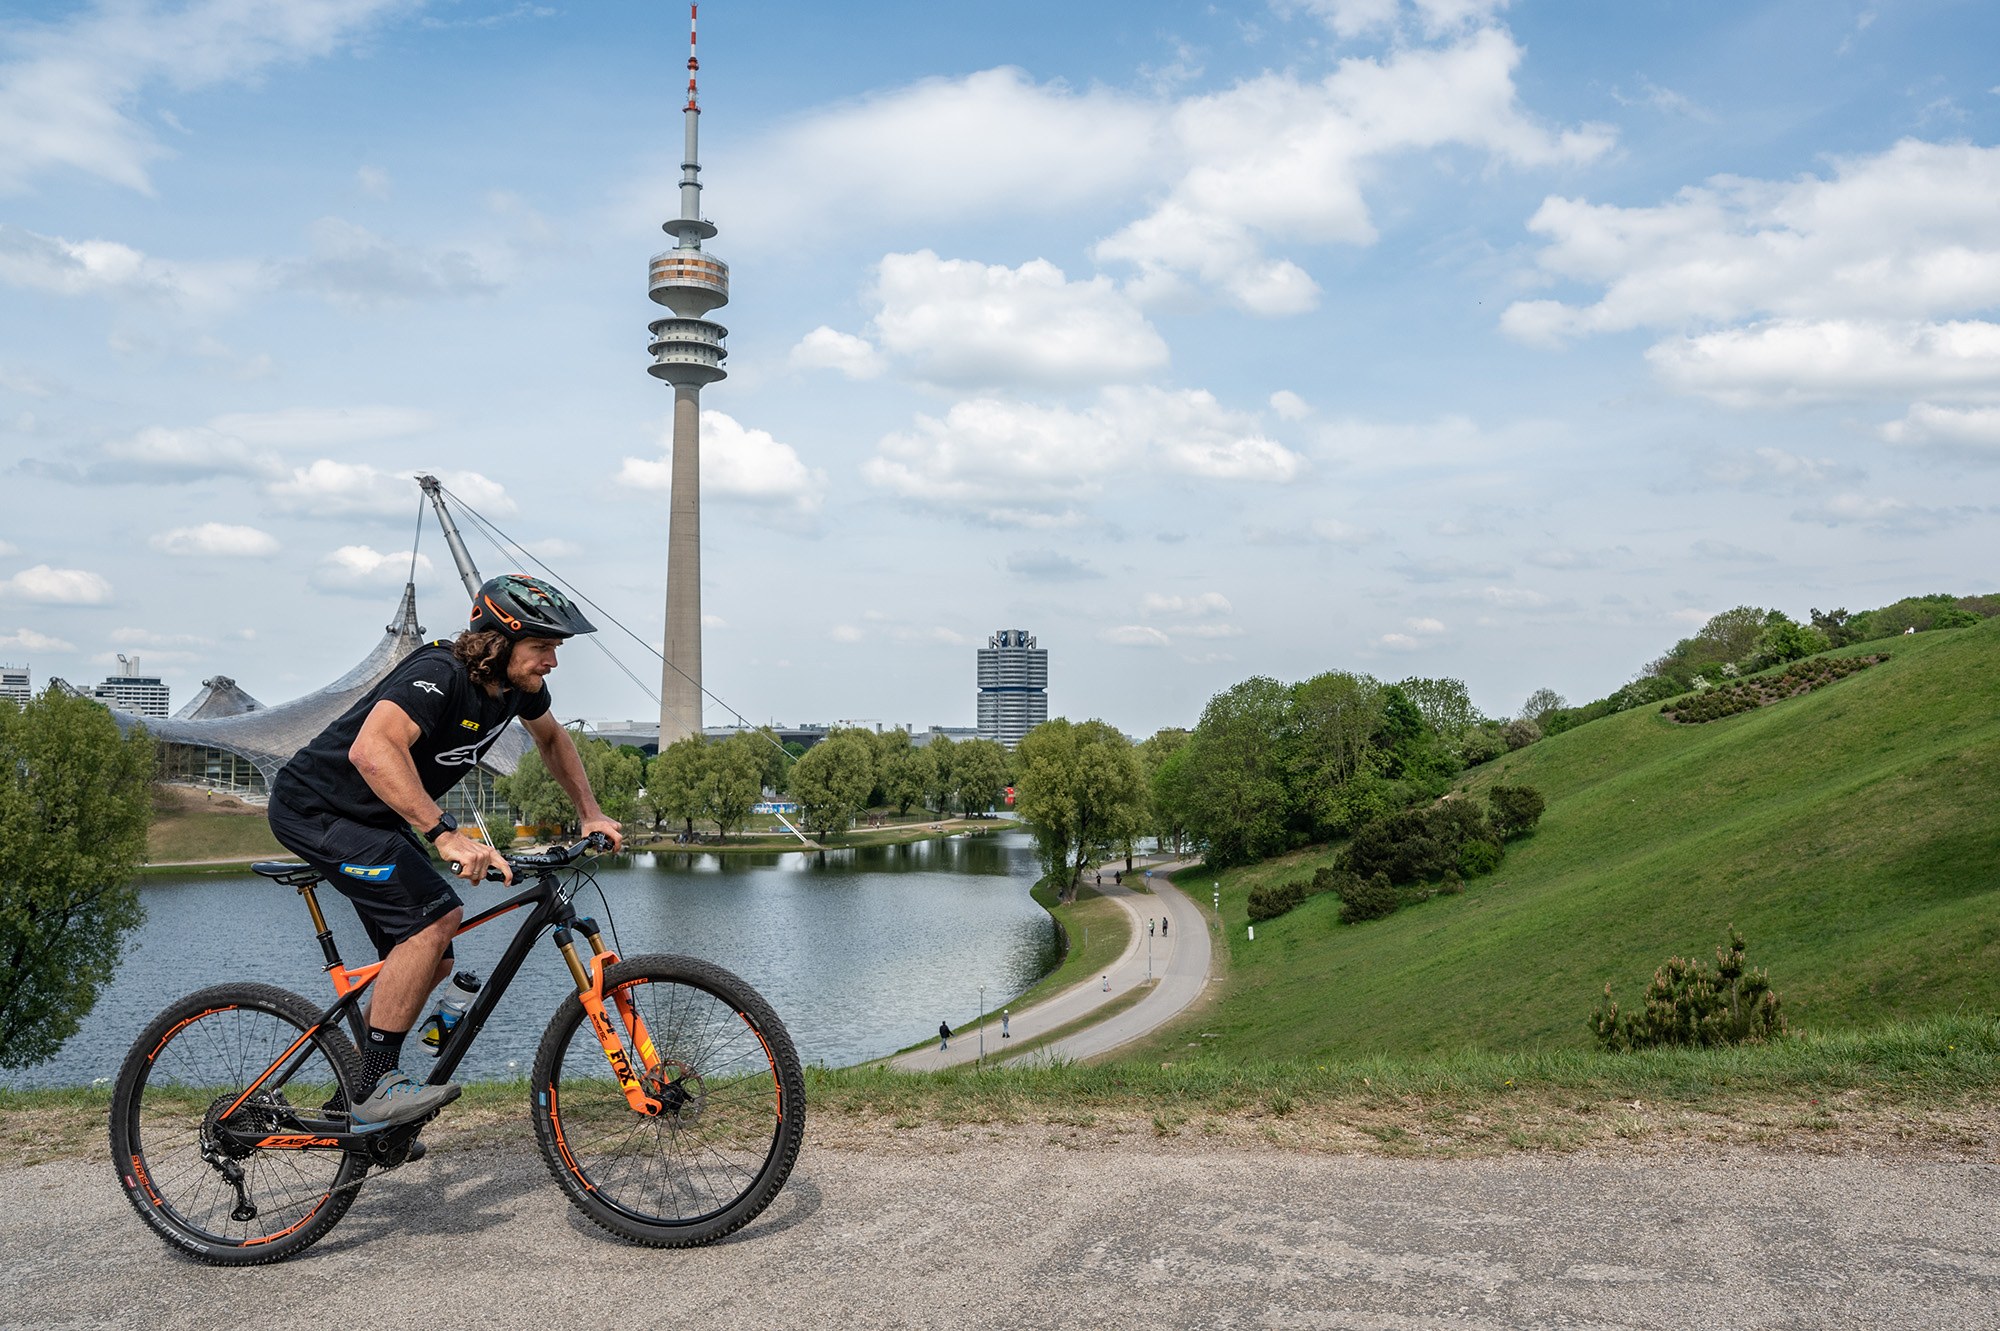
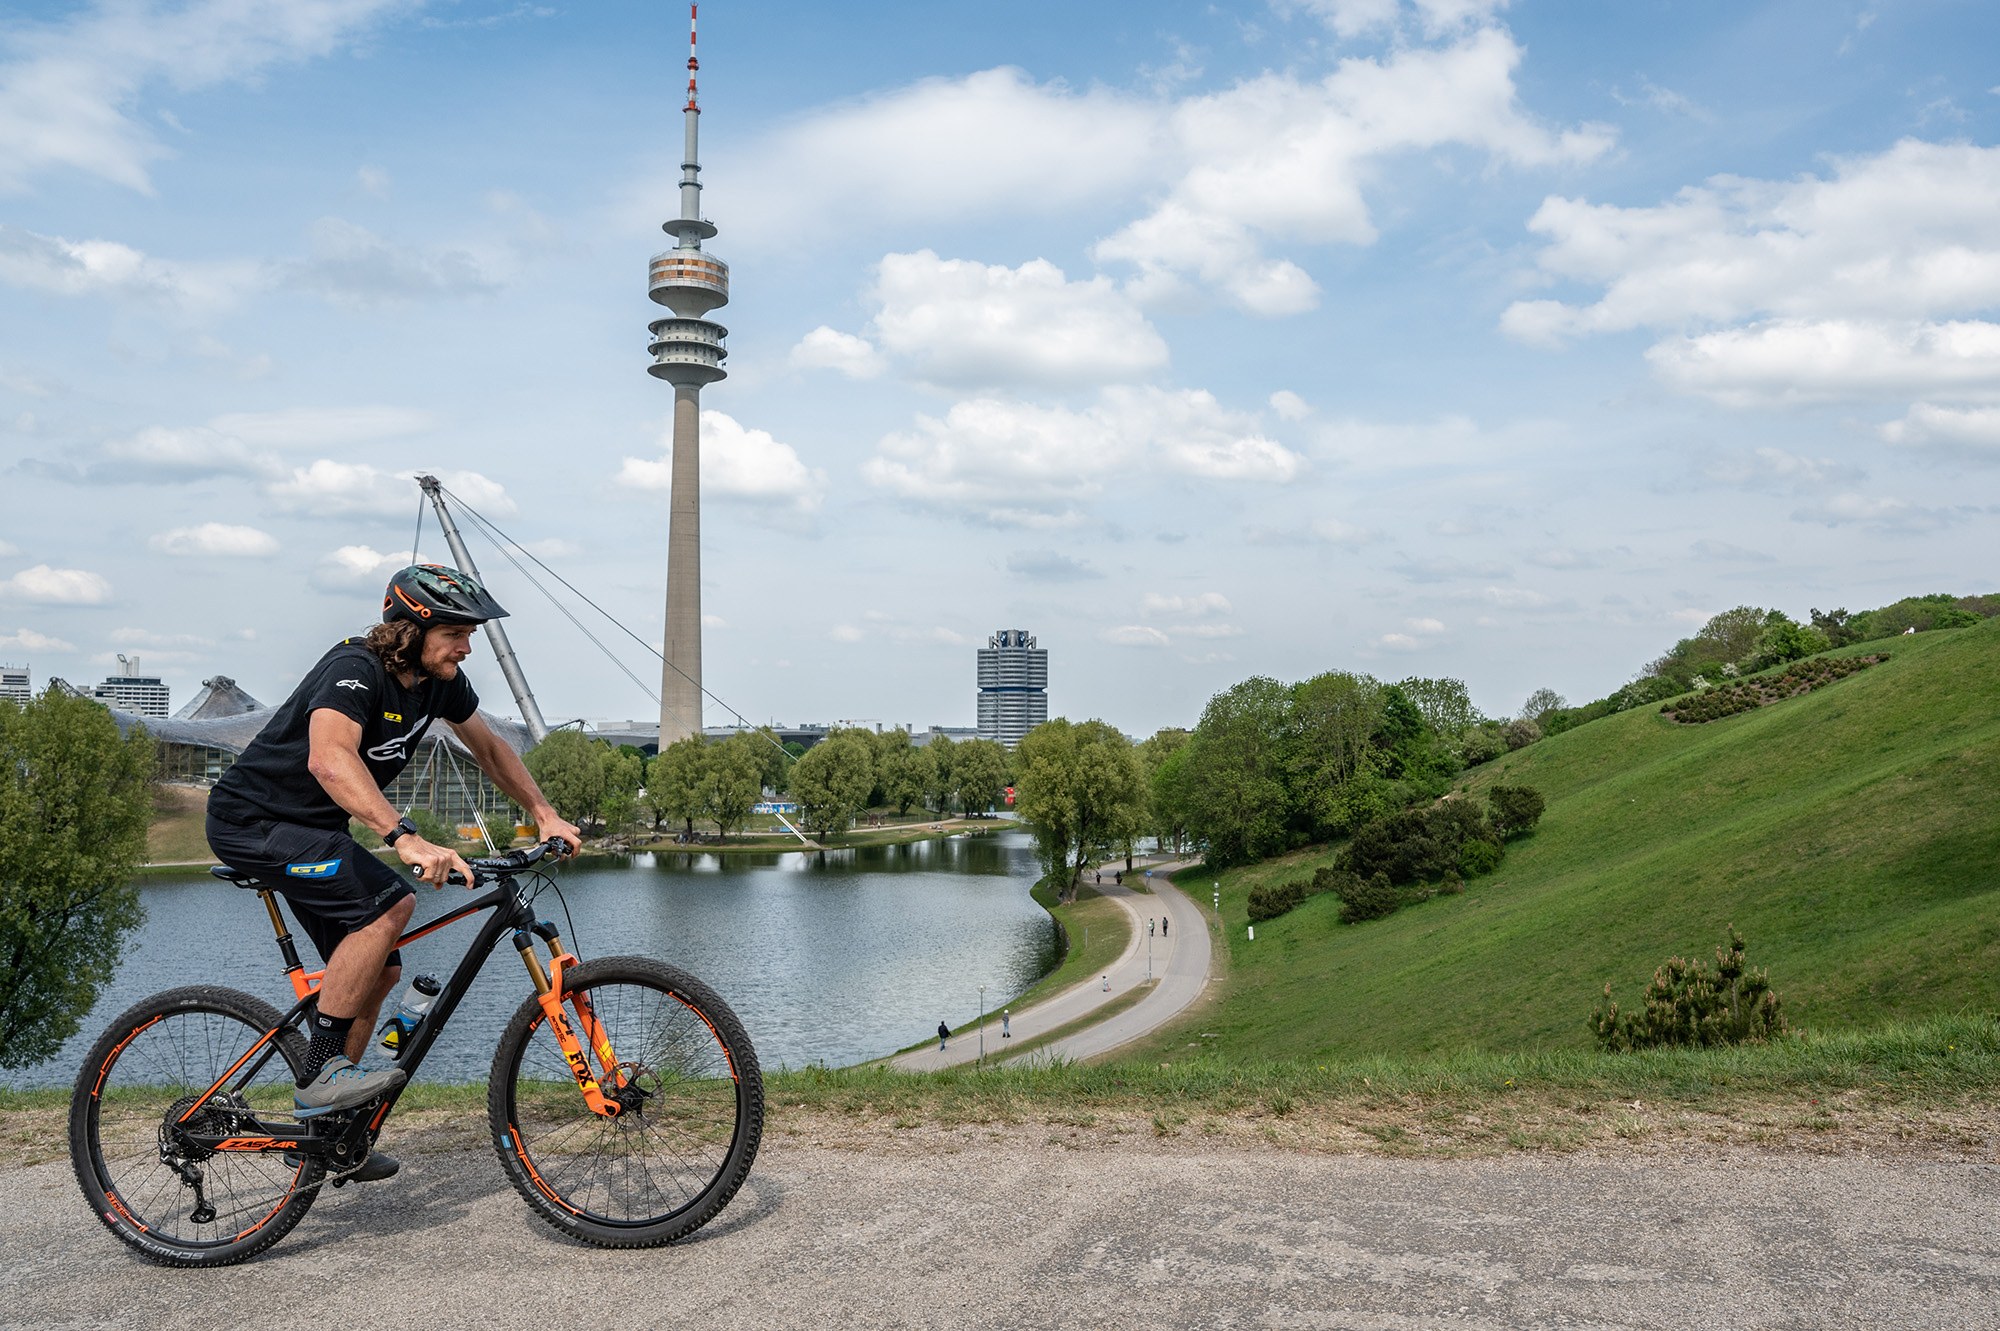
If you’ve ever been on the internet you’ll have no doubt seen Wyn’s super popular weekly ‘Wheelie Wednesday’ social media videos.
The Factory GT Racing Team rider from New Zealand is without doubt the master of wheelies and in this How To he’s going to share with you some of his tips to help you perfect the one-wheel razzler!
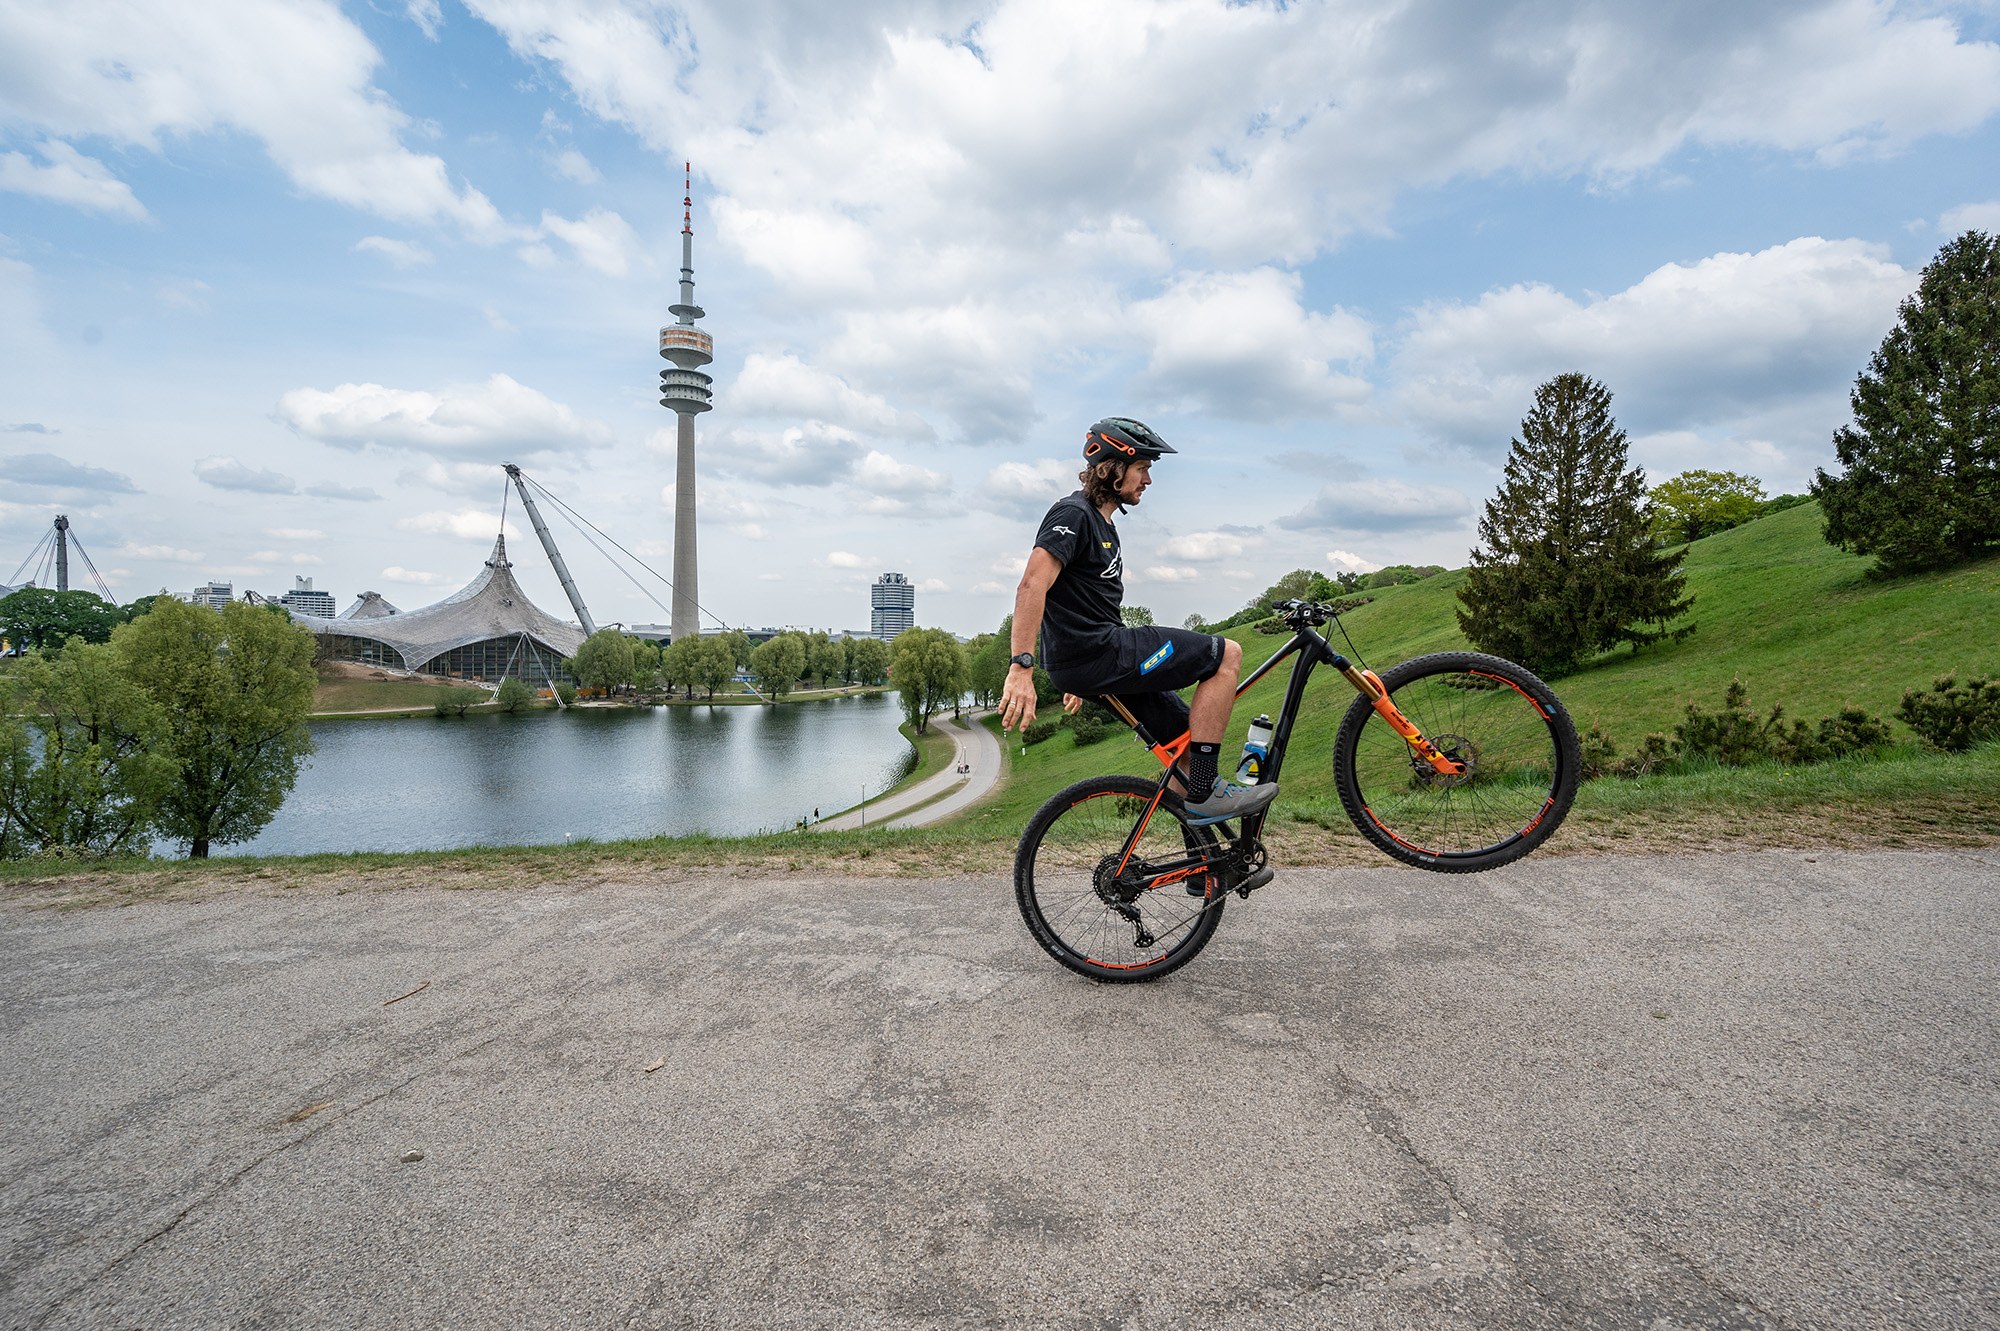
Words of Wheelie Wisdom // Wyn Masters Photos // Lars Pamler
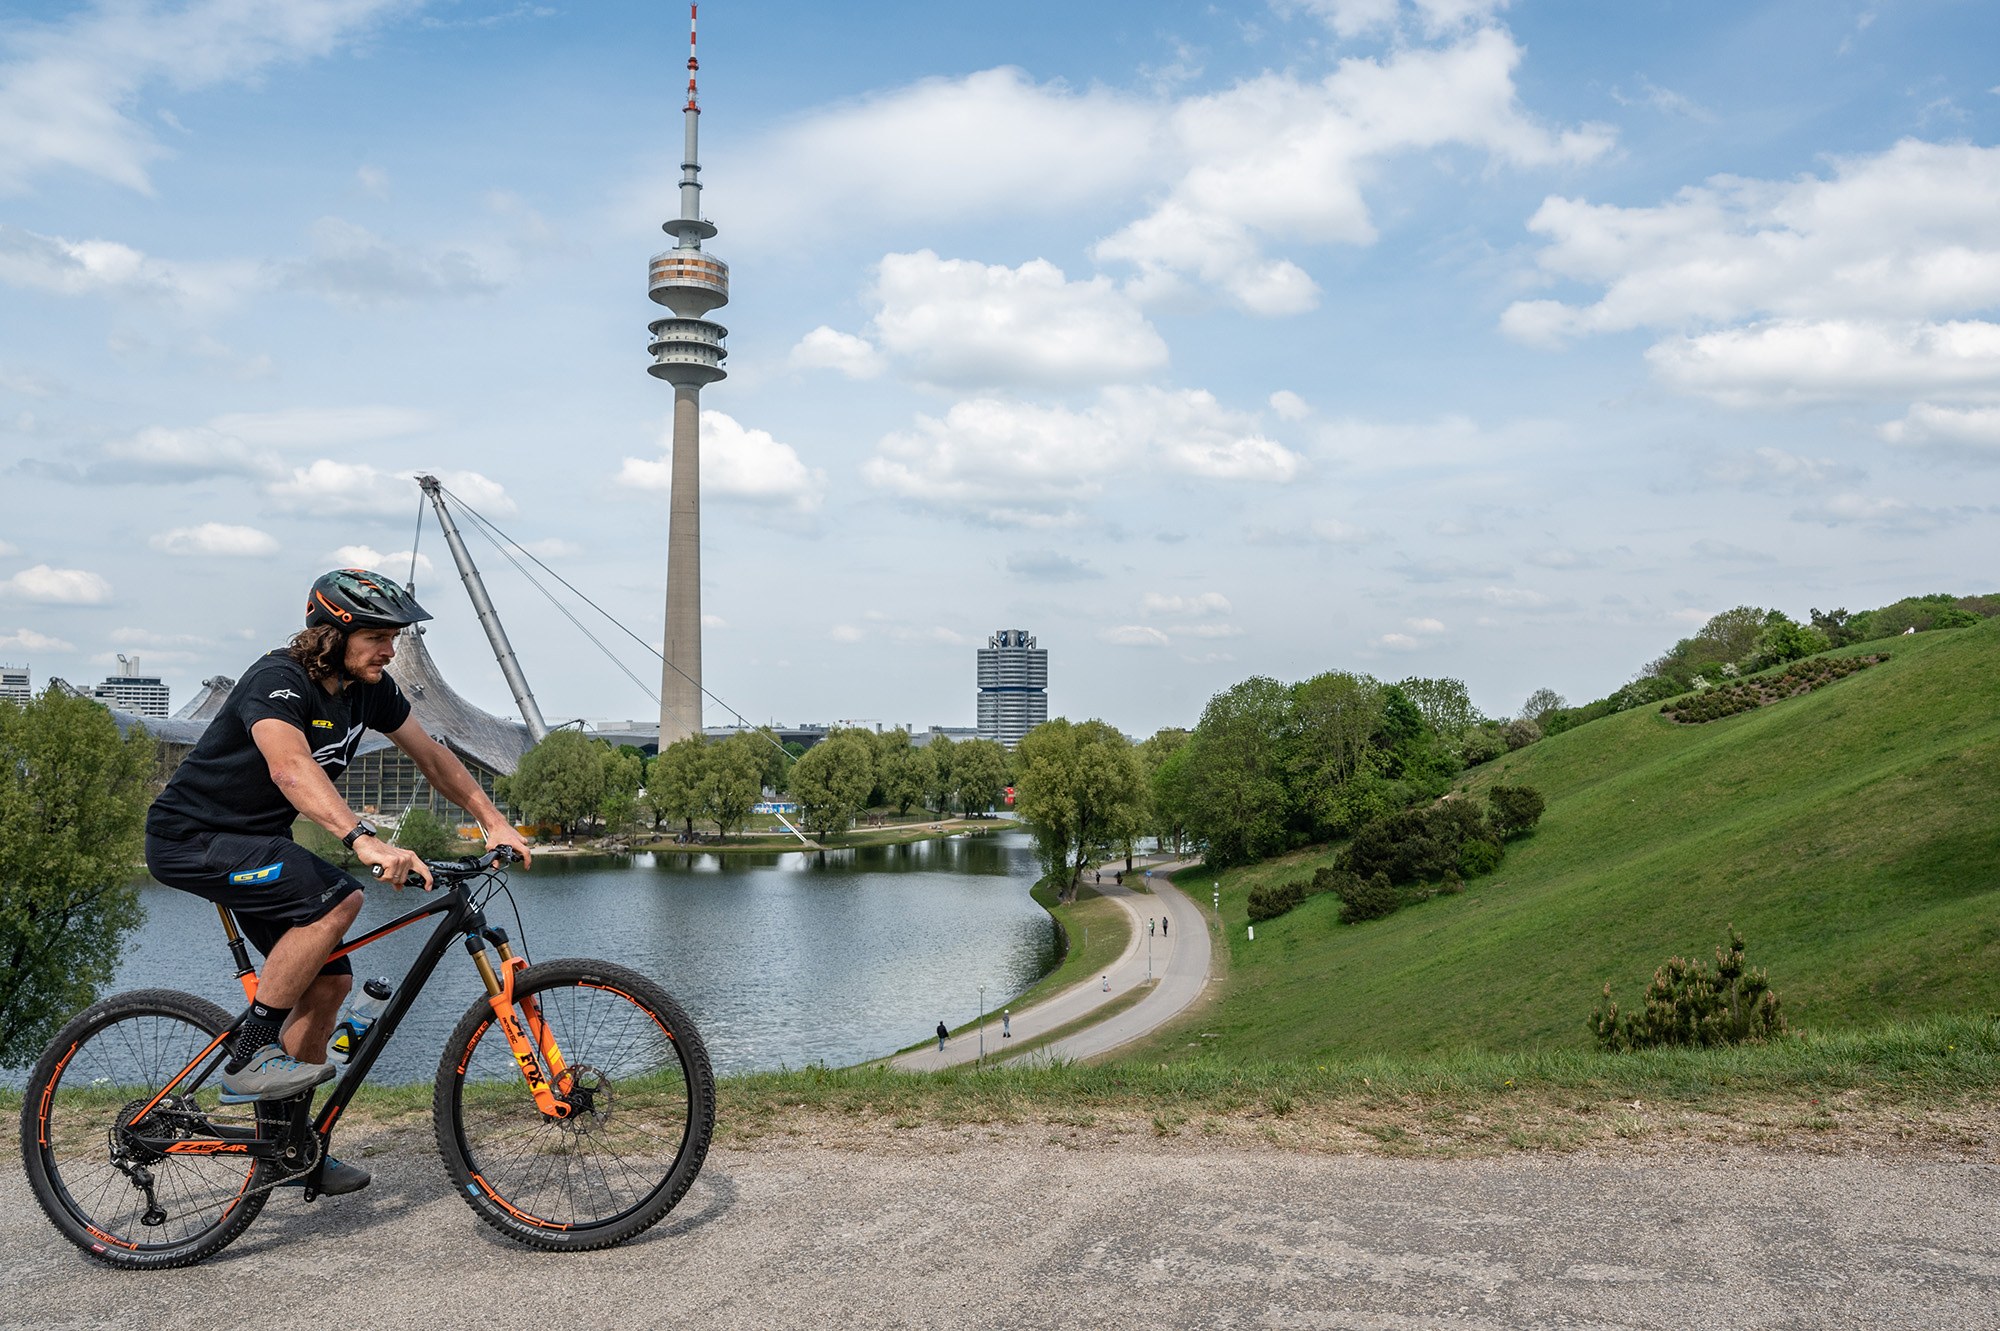


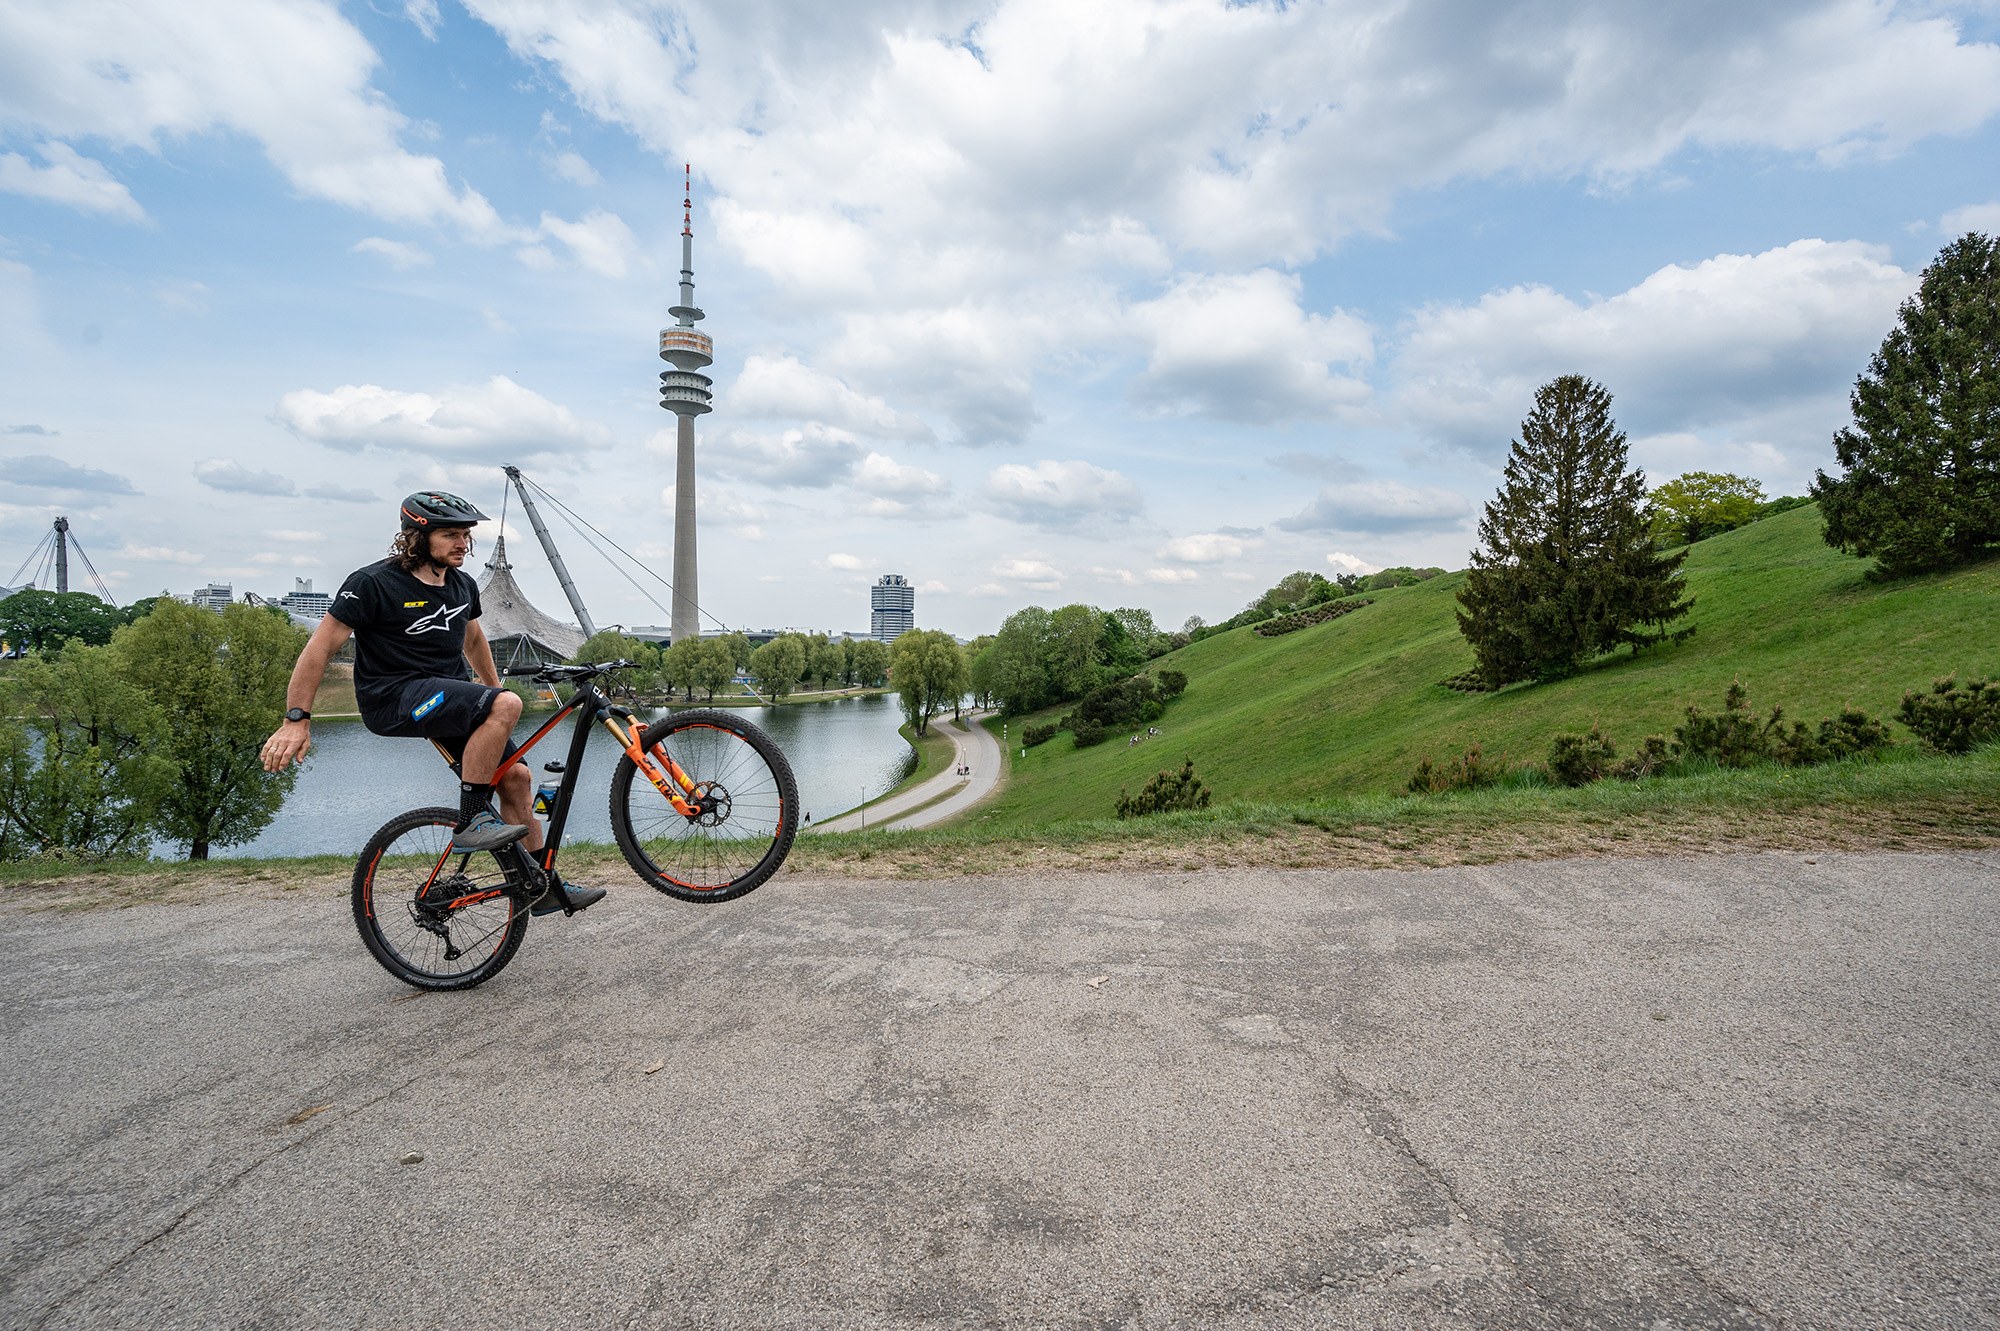
Intermediate // Standard wheelie
Step 1 // the set-up:
Its easiest to learn on a smooth surface and generally on a small hill going upslope as then the wheelie doesn’t have to be so high and you can learn to find the balance point easier, I go for a relatively easy gear to start off maybe 3-4 on an enduro or trail bike.
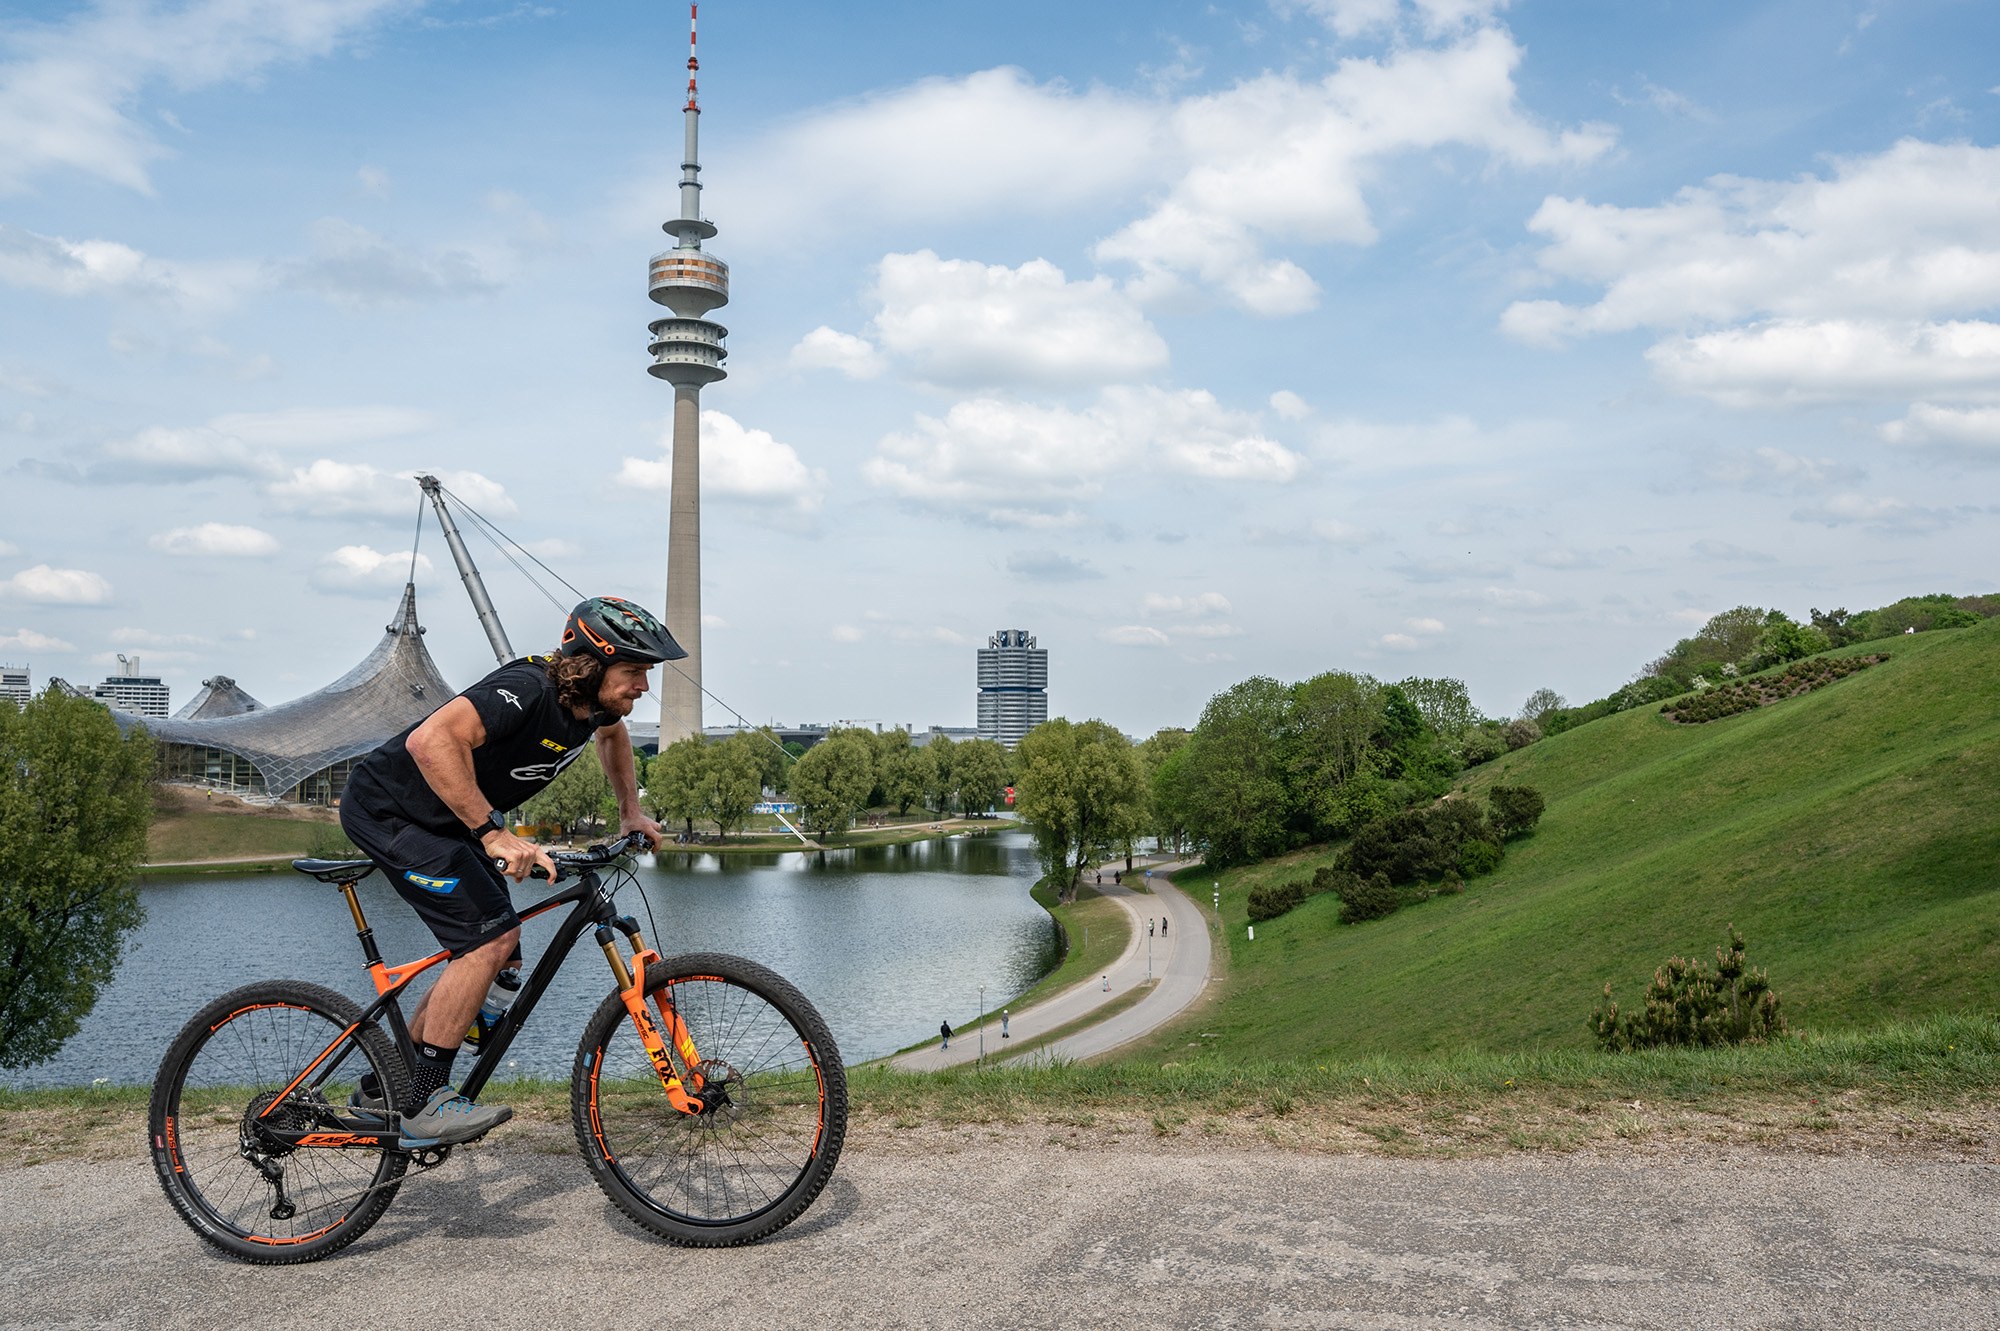
Step 2 // the approach:
You don’t need too much speed its easier starting off slower and you have to come in with your dominant foot forward ready to take the first pedal, you can be sitting as I find that’s easier and medium height seat position helps to give more leverage too, body a neutral riding position and always have a finger on the rear brake ready to feather the lever. Also make sure your seat is not angled too far back, because you’ll find if your stead is flatter it will make it easier to be more stable when wheelie’ing!


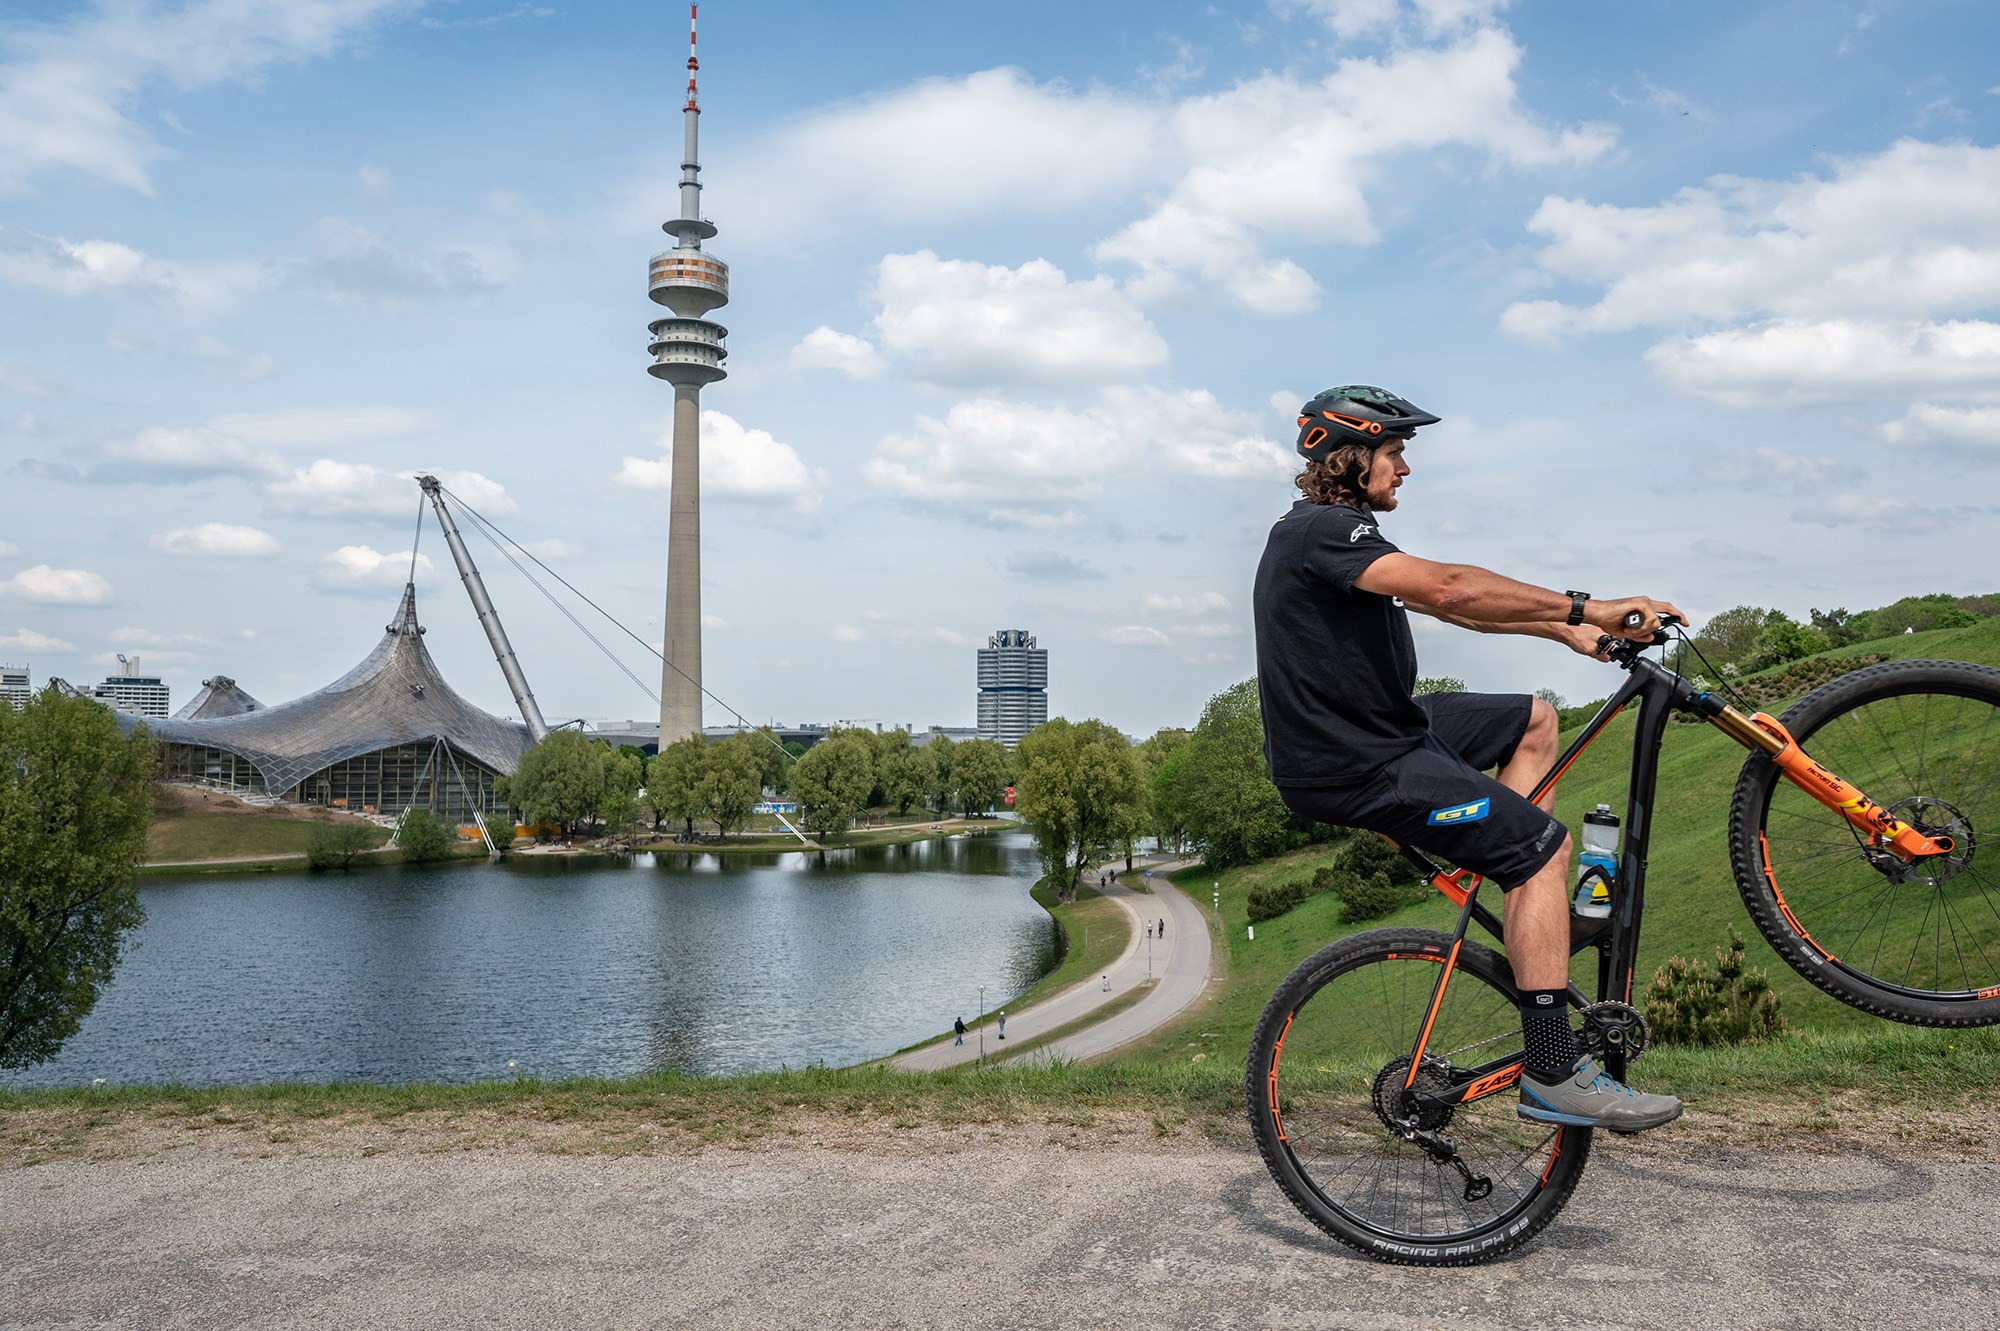
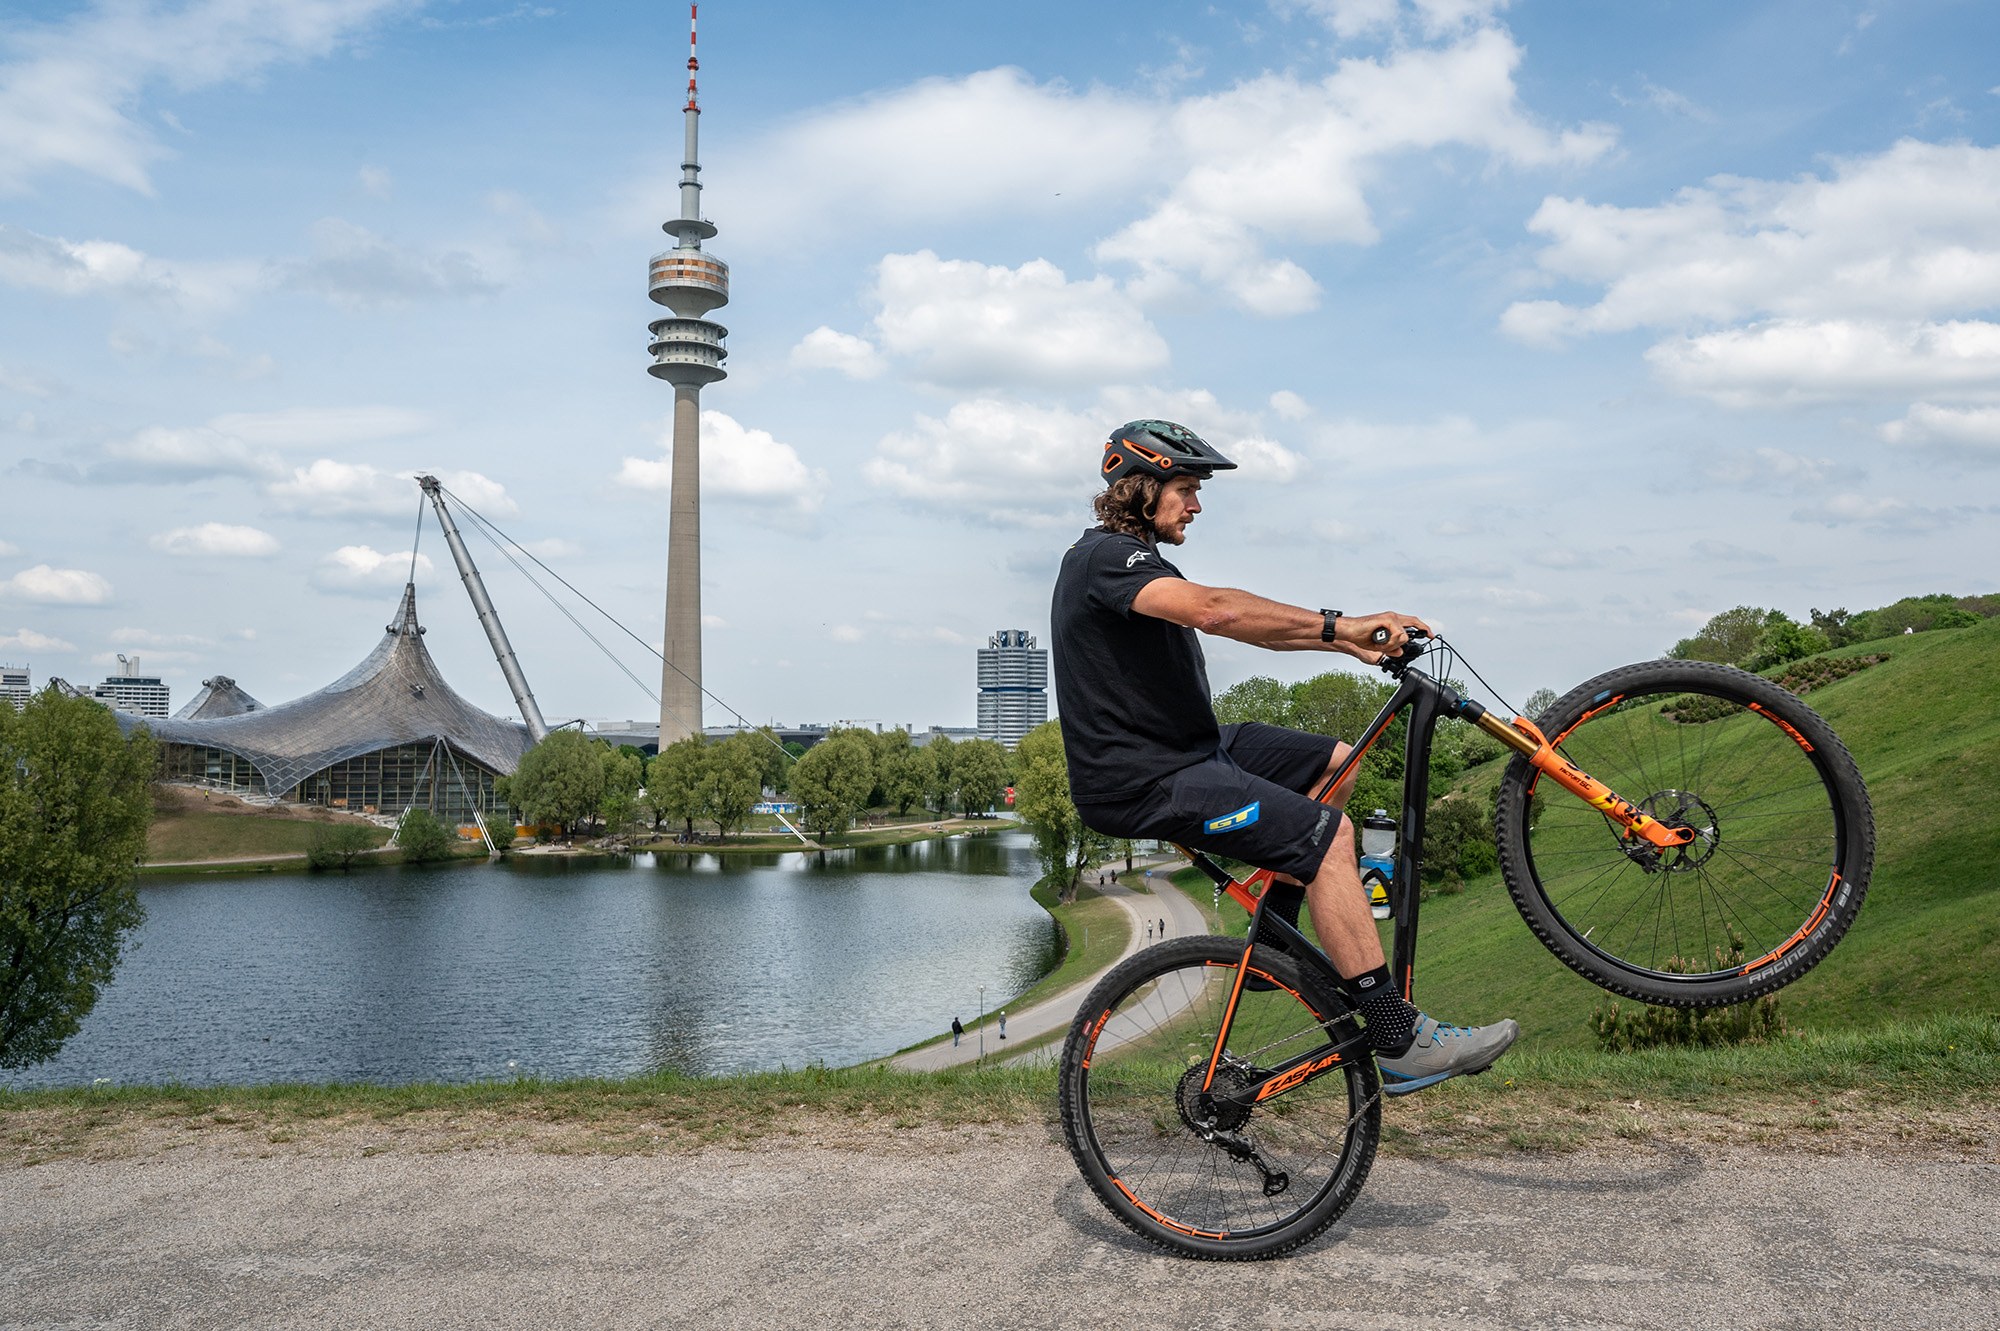
Step 3 // popping the front end:
At first to learn it’s easier to compress towards the bars and then rock back a bit while pedalling starting with your stronger foot to bring the wheel up and initiate the wheelie, as you learn more you will need this less but it’s a good starting point.
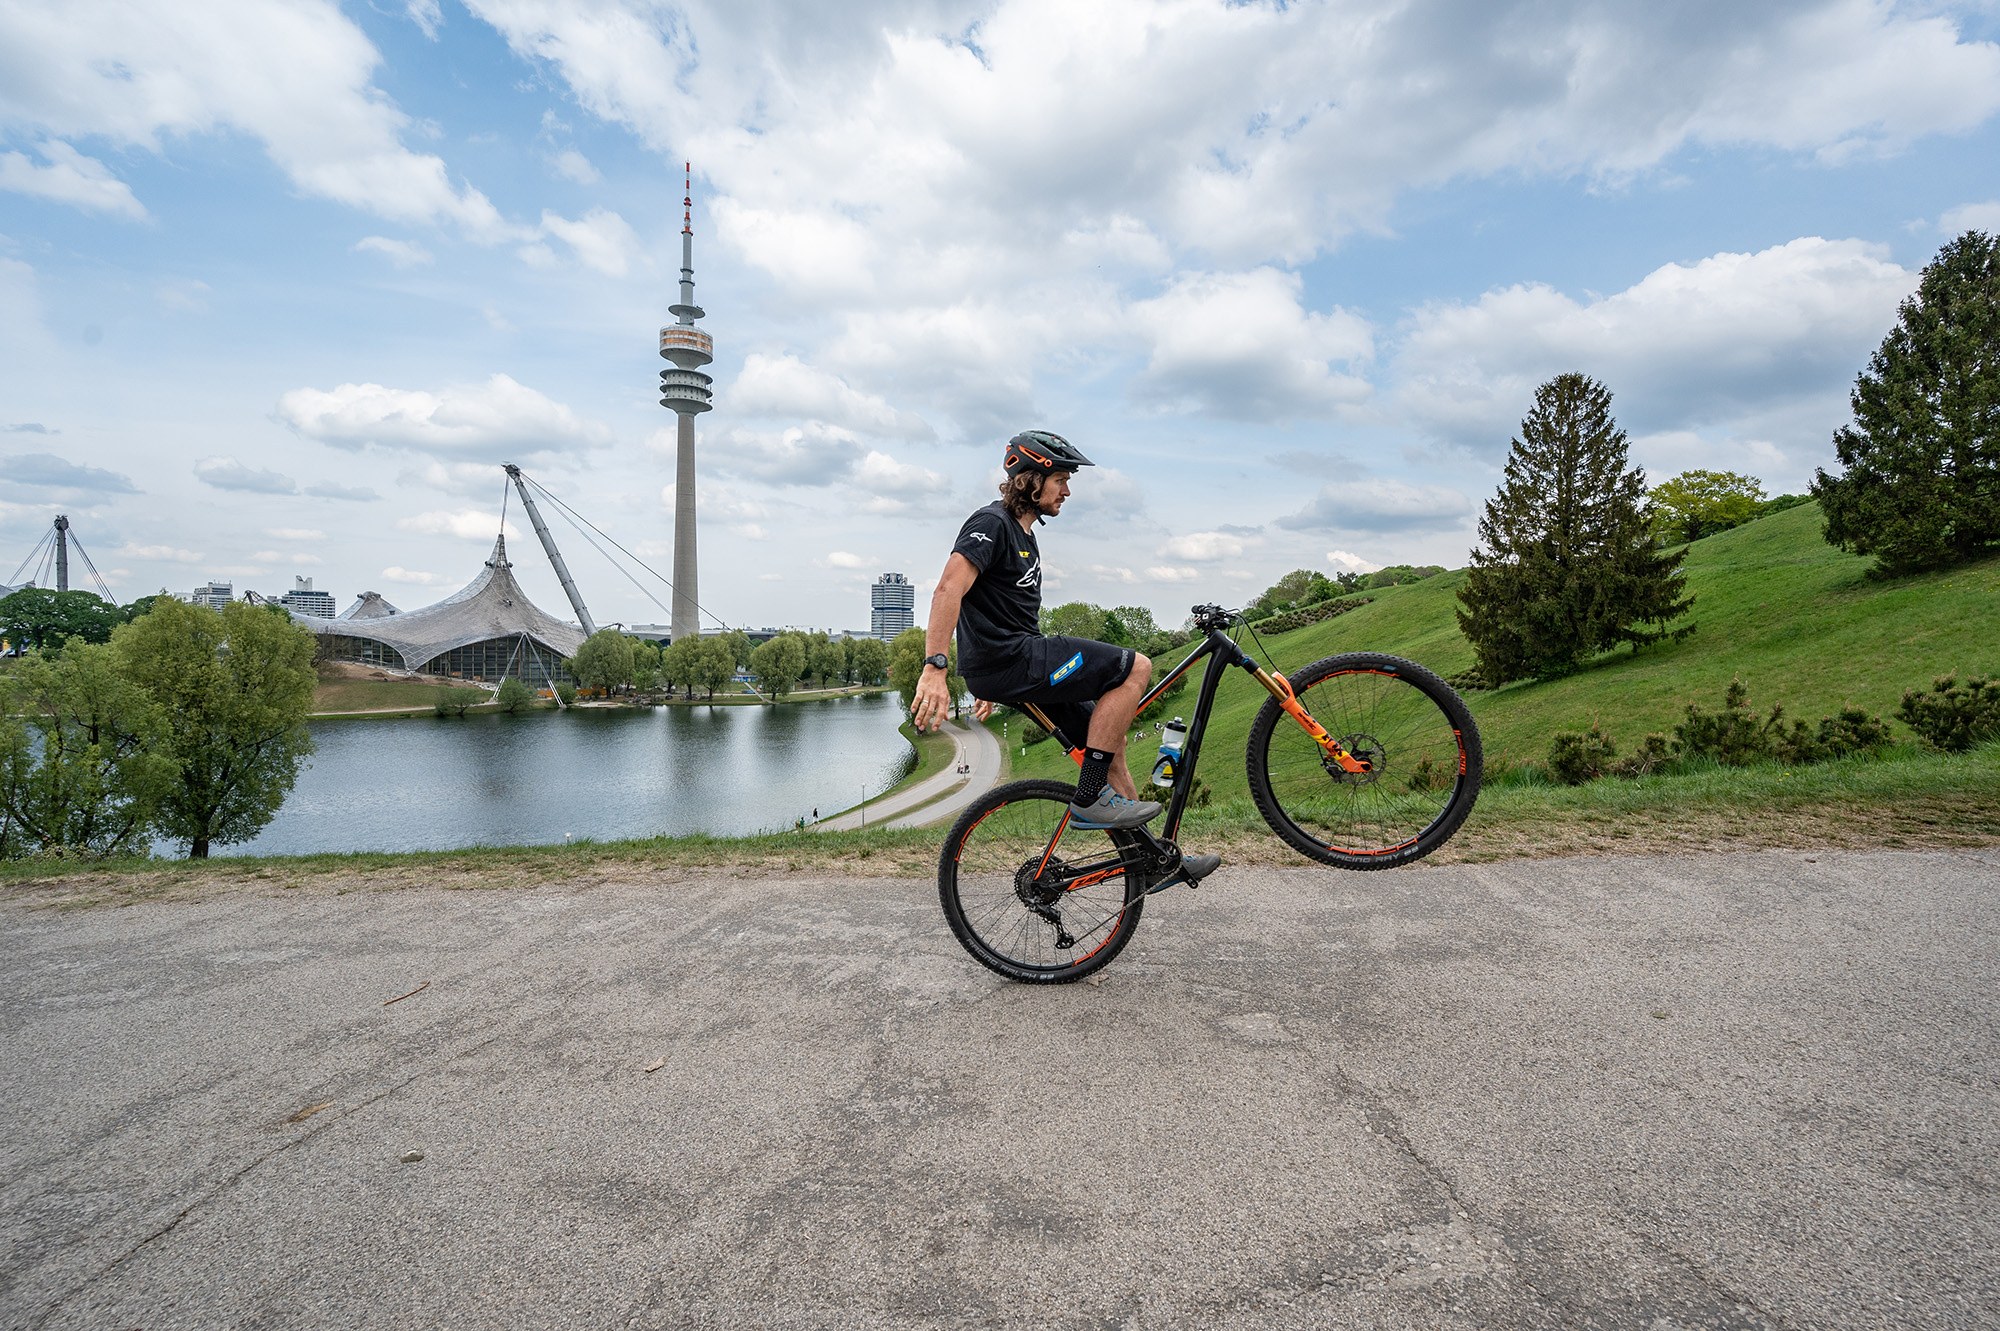
Step 4 // maintaining your wheelie:
Once it’s up, you want to stay in a pretty central position, and hold the core tight to stop it from falling towards the left or right sides keep looking forward to where you want to go and learn to get comfortable with the balance point, when you find it you can feather the rear brake to stop it from going too far back, always have a finger on the brake to avoid looping out.
Step 5 // bringing it back to earth:
The easiest way to bring it back down is to lightly feather the rear brake which will bring the wheel back down nicely.


Advanced // The no handed wheelie!
Step 1 // The set-up:
Before going for the no handed wheelie, you want to be pretty comfortable with the standard wheelie and be able to easily hold it on the balance point without an issue. No handed wheelies are easiest also on an upslope and generally a smooth road works best. The steeper the road the easier it can be. And you want to make sure you’re in a nice easy gear.
Step 2 // The approach:
Come in slowly and use the same position as the standard wheelie, at first its best to learn by initiating the standard wheelie and then taking off your hands after.
Step 3 // Popping the front end:
Once you get the standard wheelie going bring it up to hold it on or near the balance point while sitting, and then take off your hands at first you can hold them just above the bar in case you need to grab it quickly and then just allow yourself to get comfortable with it, also it’s much easier with clip pedals, but it’s possible on flat pedals too with flats a very flat or even downward seat angle will help to hold the bike in place.
Step 4 // maintaining your wheelie:
Another secret is to have the stem top cap a little tight to stop the bars from turning as you go, then try to stay central over the bars while leaning on the balance point and wheelie’ing away uphill. Also, uphill is much easier and safer from looping out. It takes practice and repetition but eventually you find you can do one pedal then two and so on then you will be no handed wheelie’ing everywhere, I like to do it on the EWS transfer stages as long climbs can get a bit boring
Step 5 // bringing it back to earth:
Lean forward to bring your hands back to the grips feather the rear brake and bring the wheel back down.